Become a rainbow friend - 2023
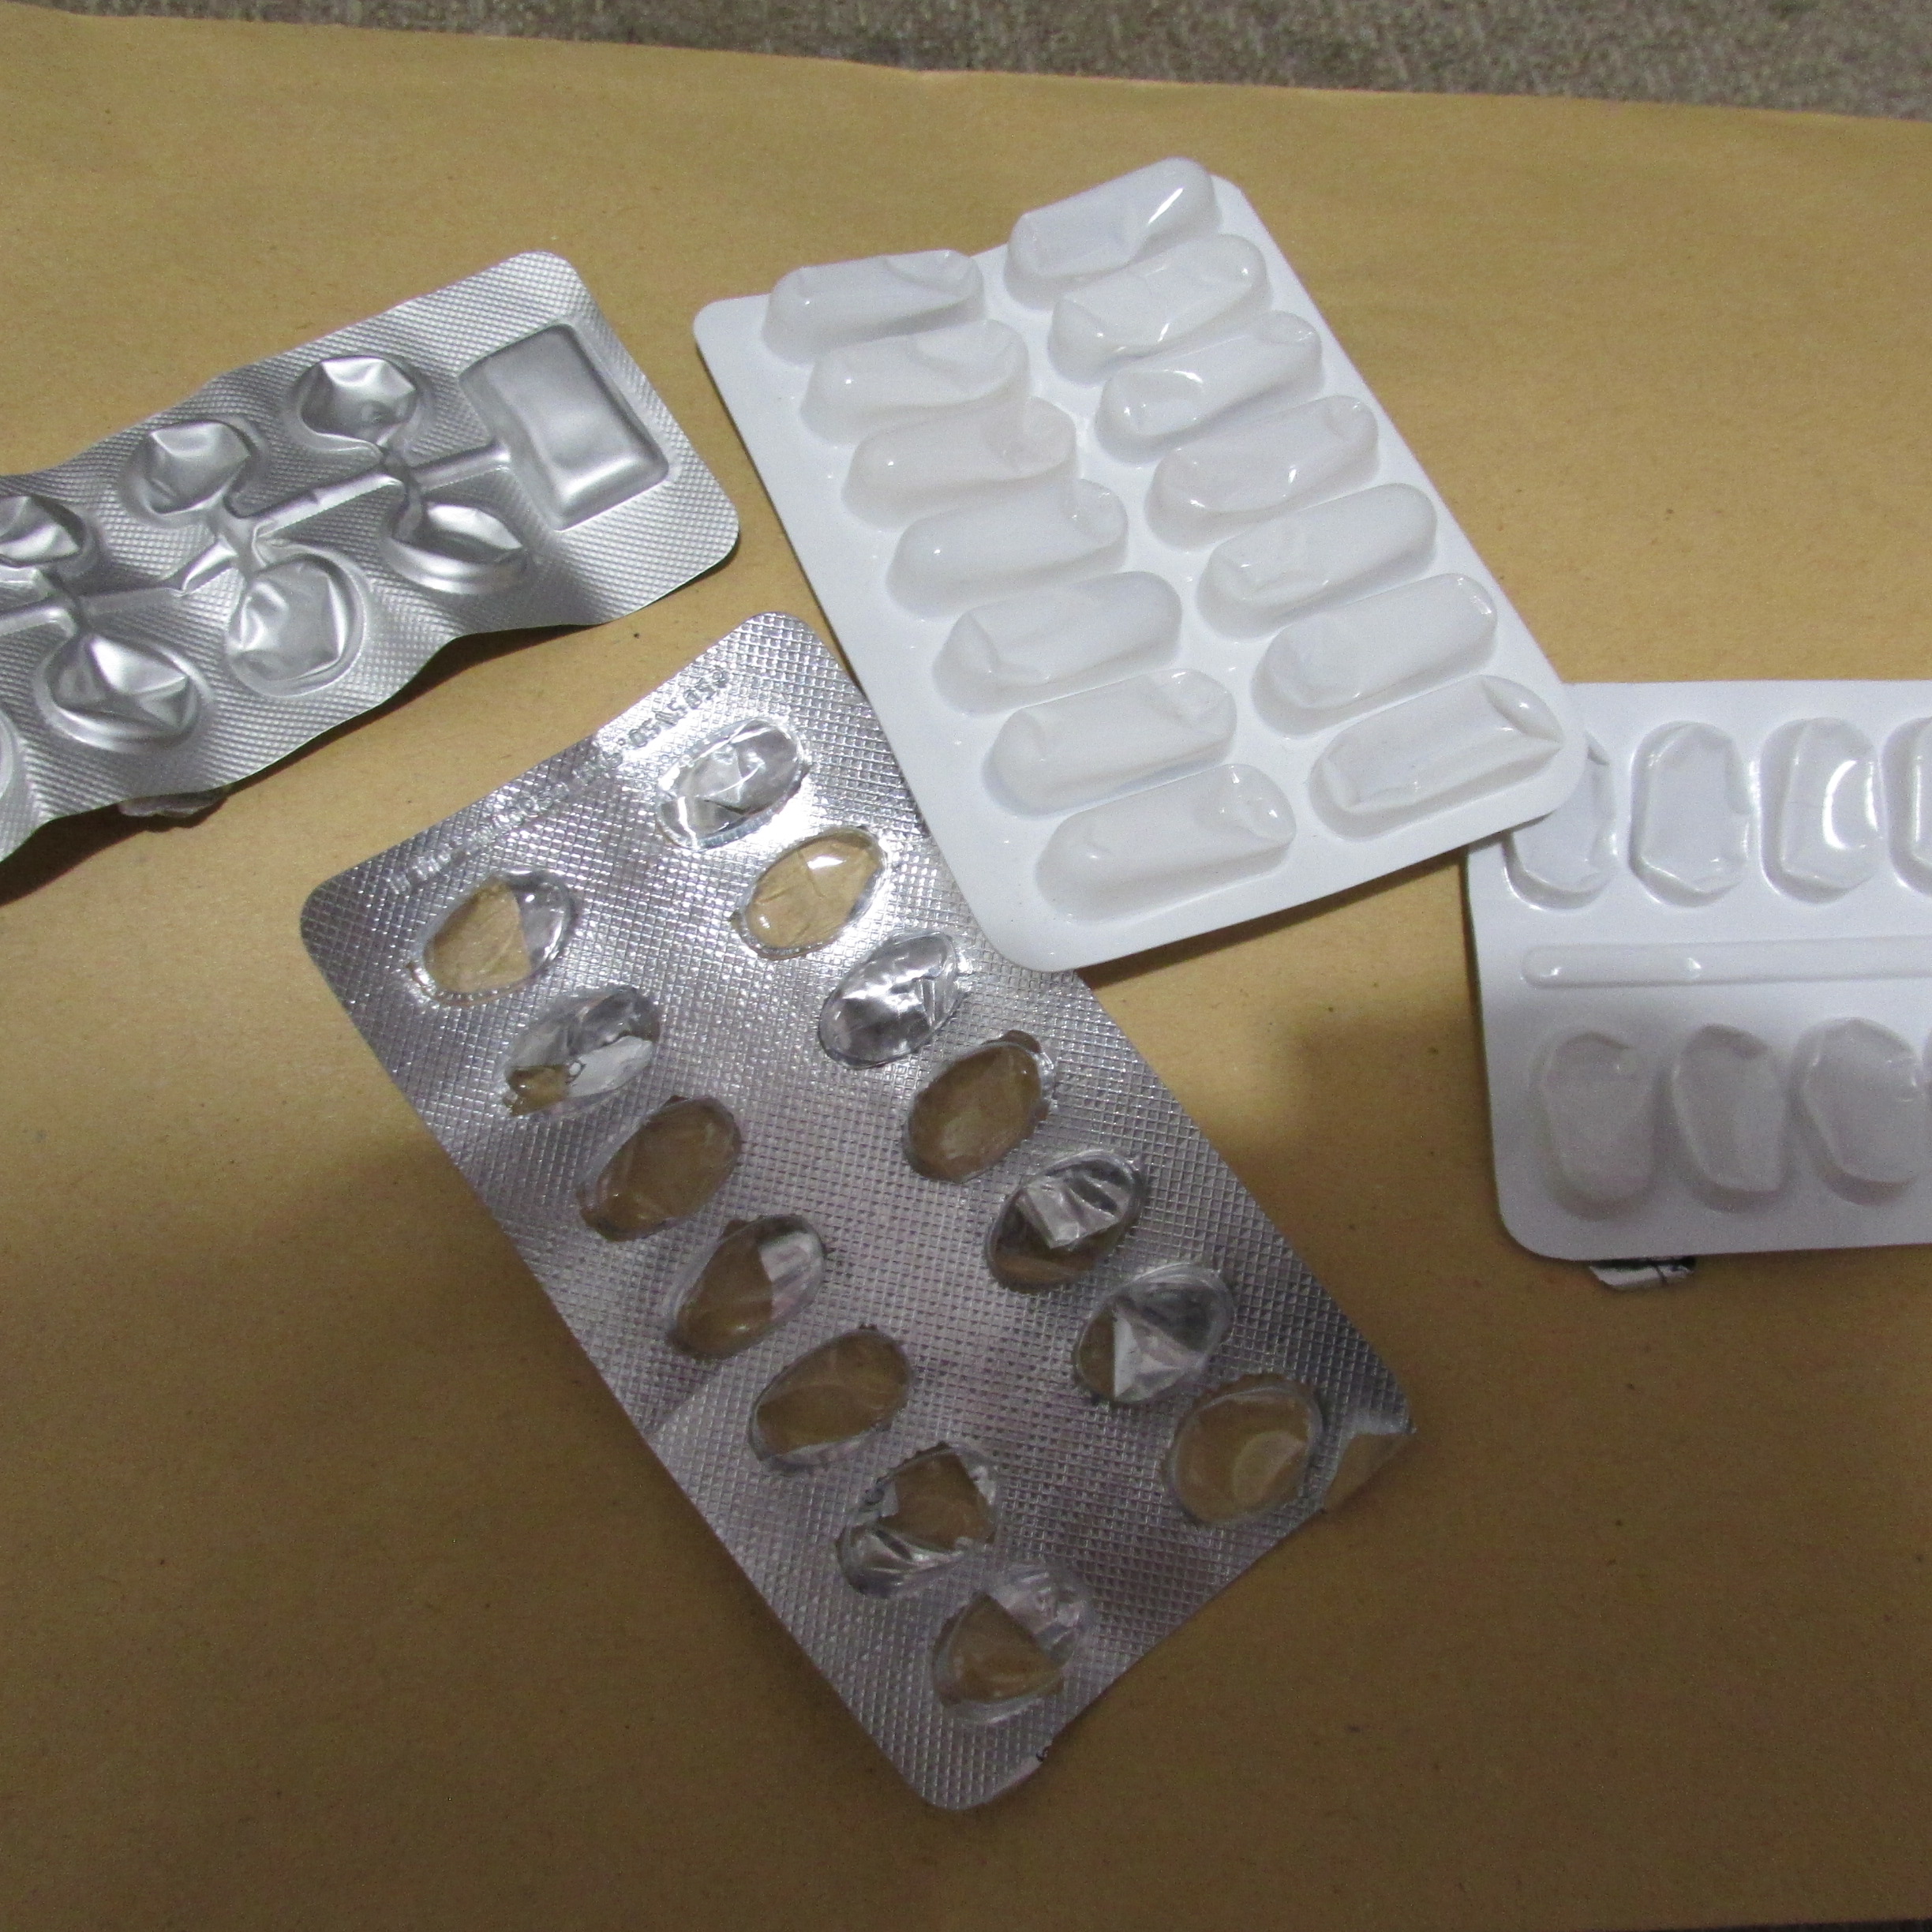
Recycle your medicine blister packs with Aldi’s new scheme
Recycle your unwanted goods and raise funds for the
charities you support
www.recyclingforgoodcauses.org
Recycling for Good Causes
Email: info@recyclingforgoodcauses.org
14 Amber Business Village
Amington
Tamworth
B77 4RP
0800 6335323
.
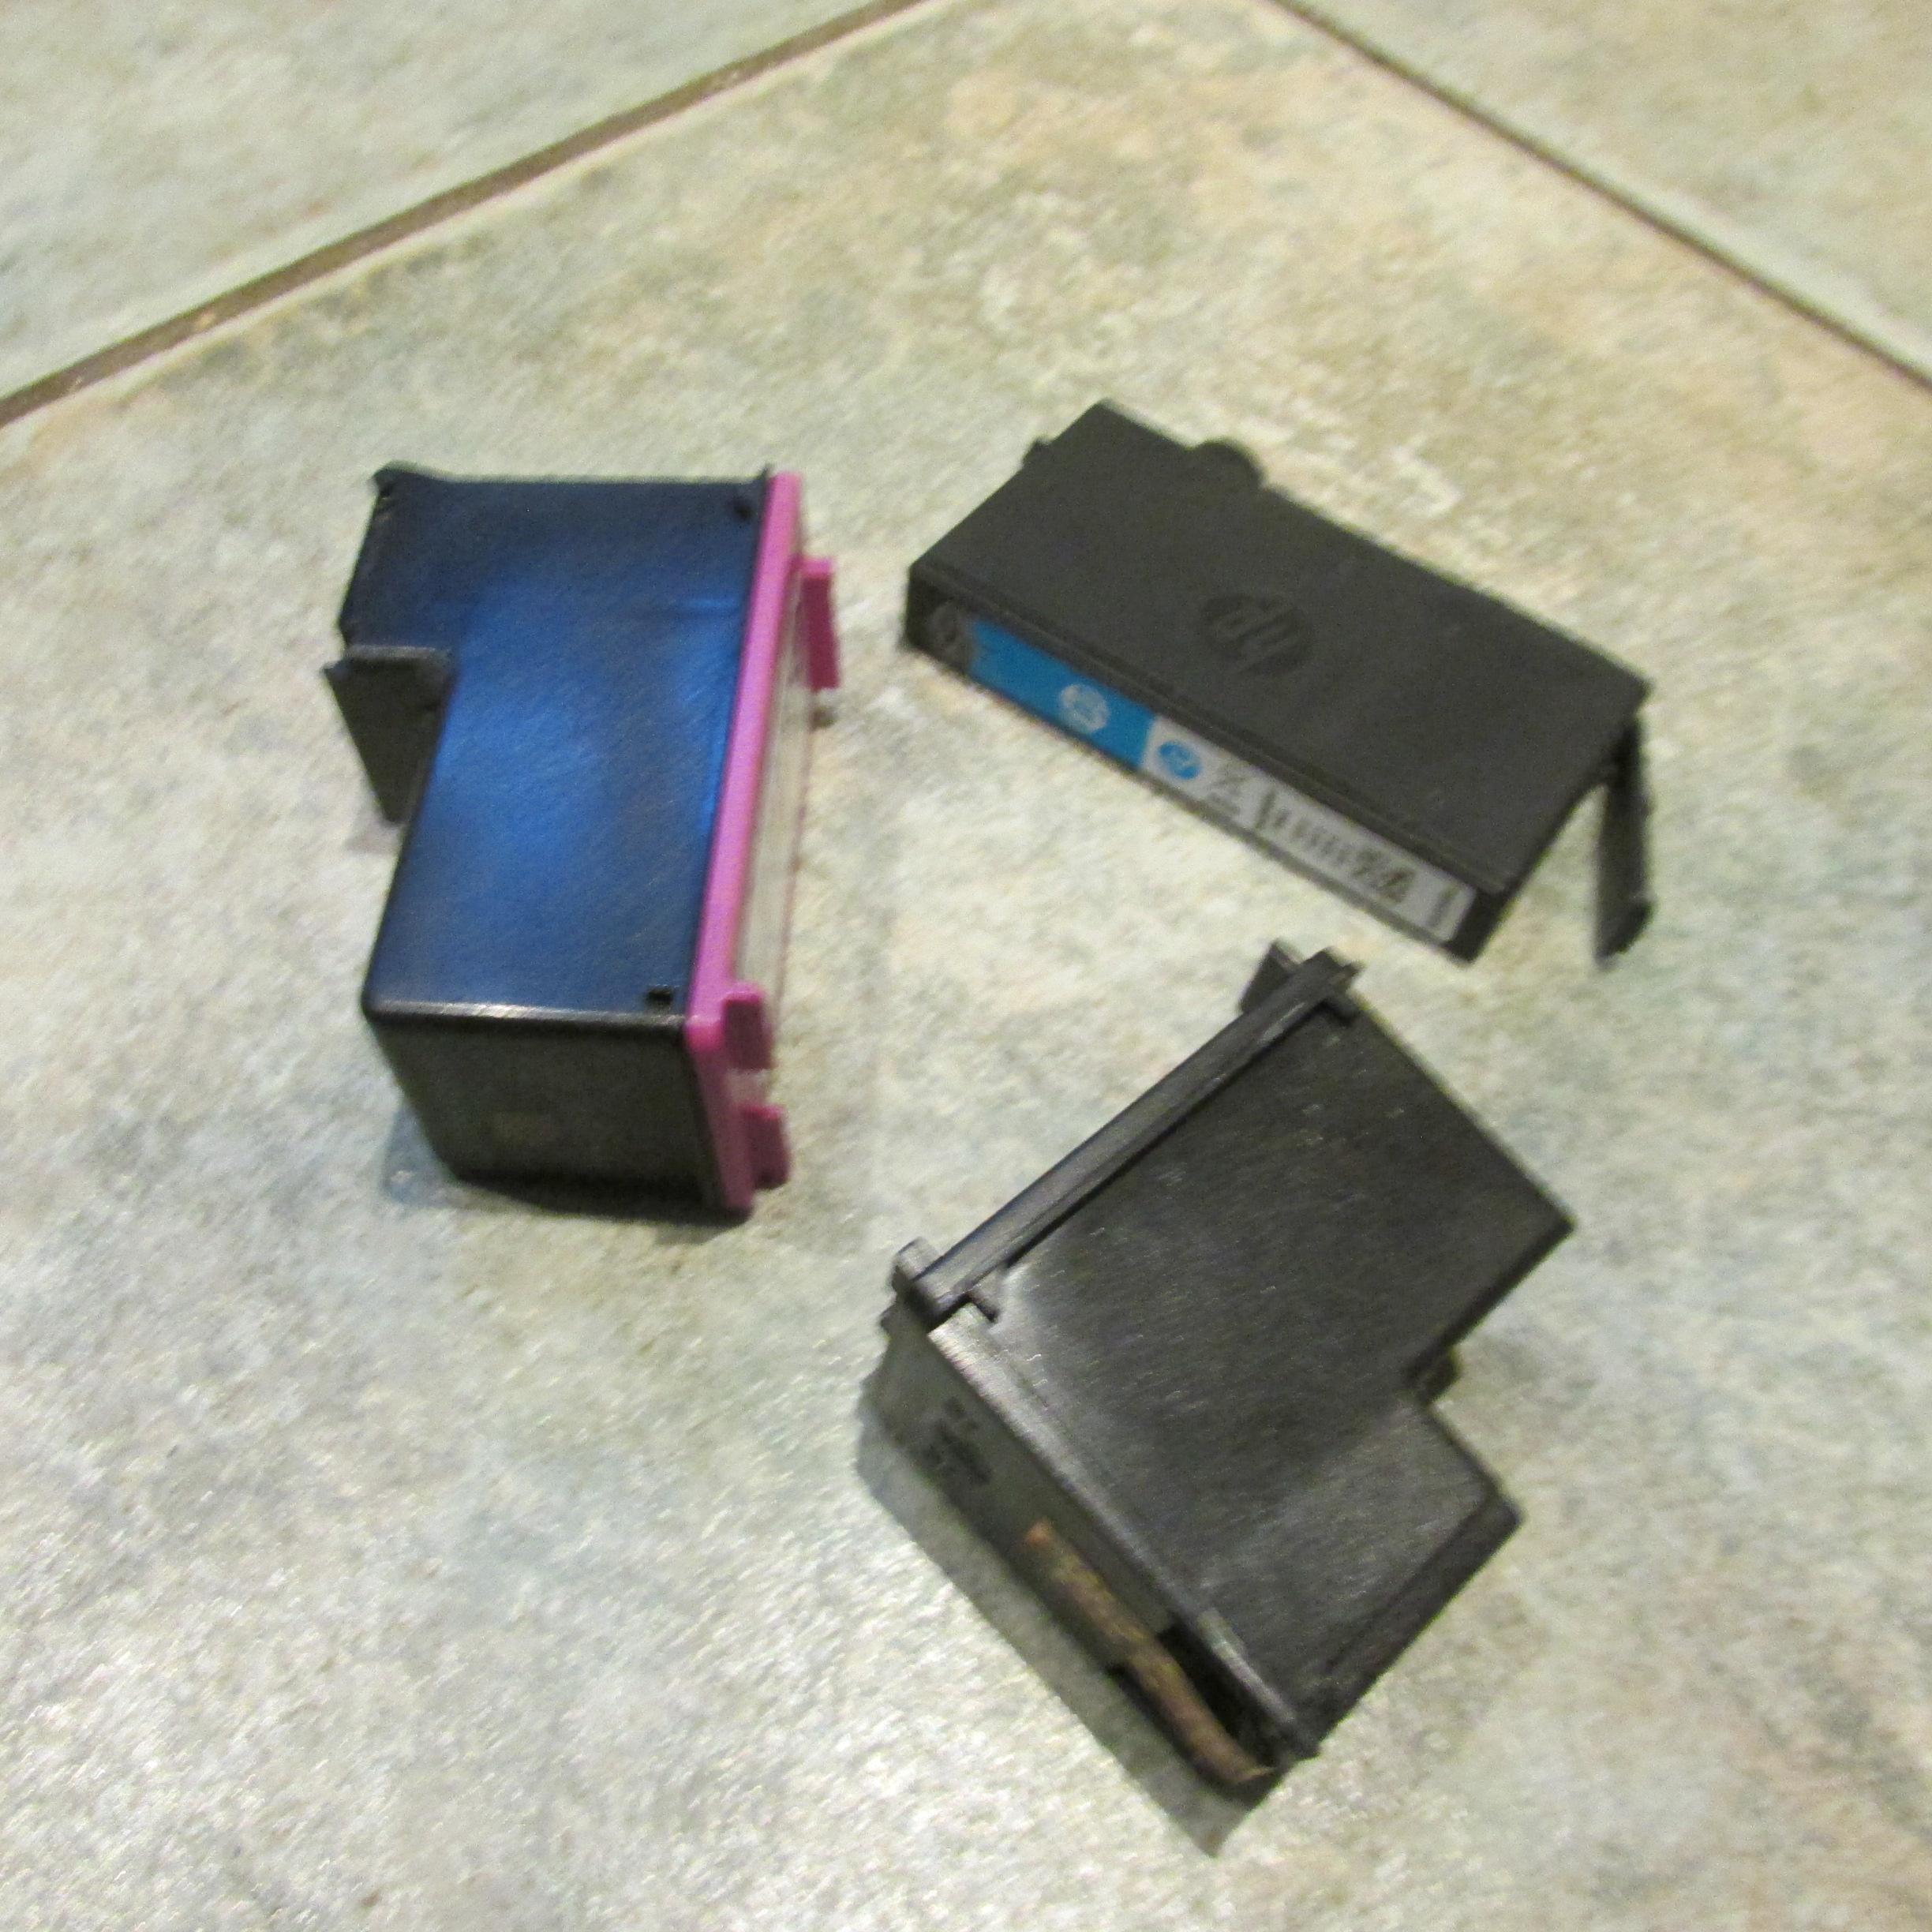
Recycle your empty printer cartridges with
Empties Please
email: info@emptiesplease.com
0844 8797179
I really do hate just throwing things away and contributing
to landfill when I can find an alternative place to dispose of things. It is even better when other people can
benefit from my donations and raise much needed funds, so I was pleased to hear
about Empties Please who recycle printer cartridges and SOME toners.
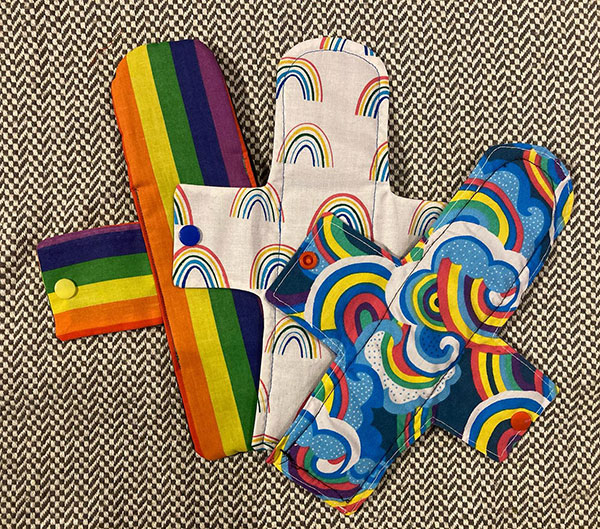
Help ease Period Poverty with The Pachamama Project
Thepachamamaproject.org
Email: thepachamamaproject@outlook.com
Why not .... donate to a food bank?
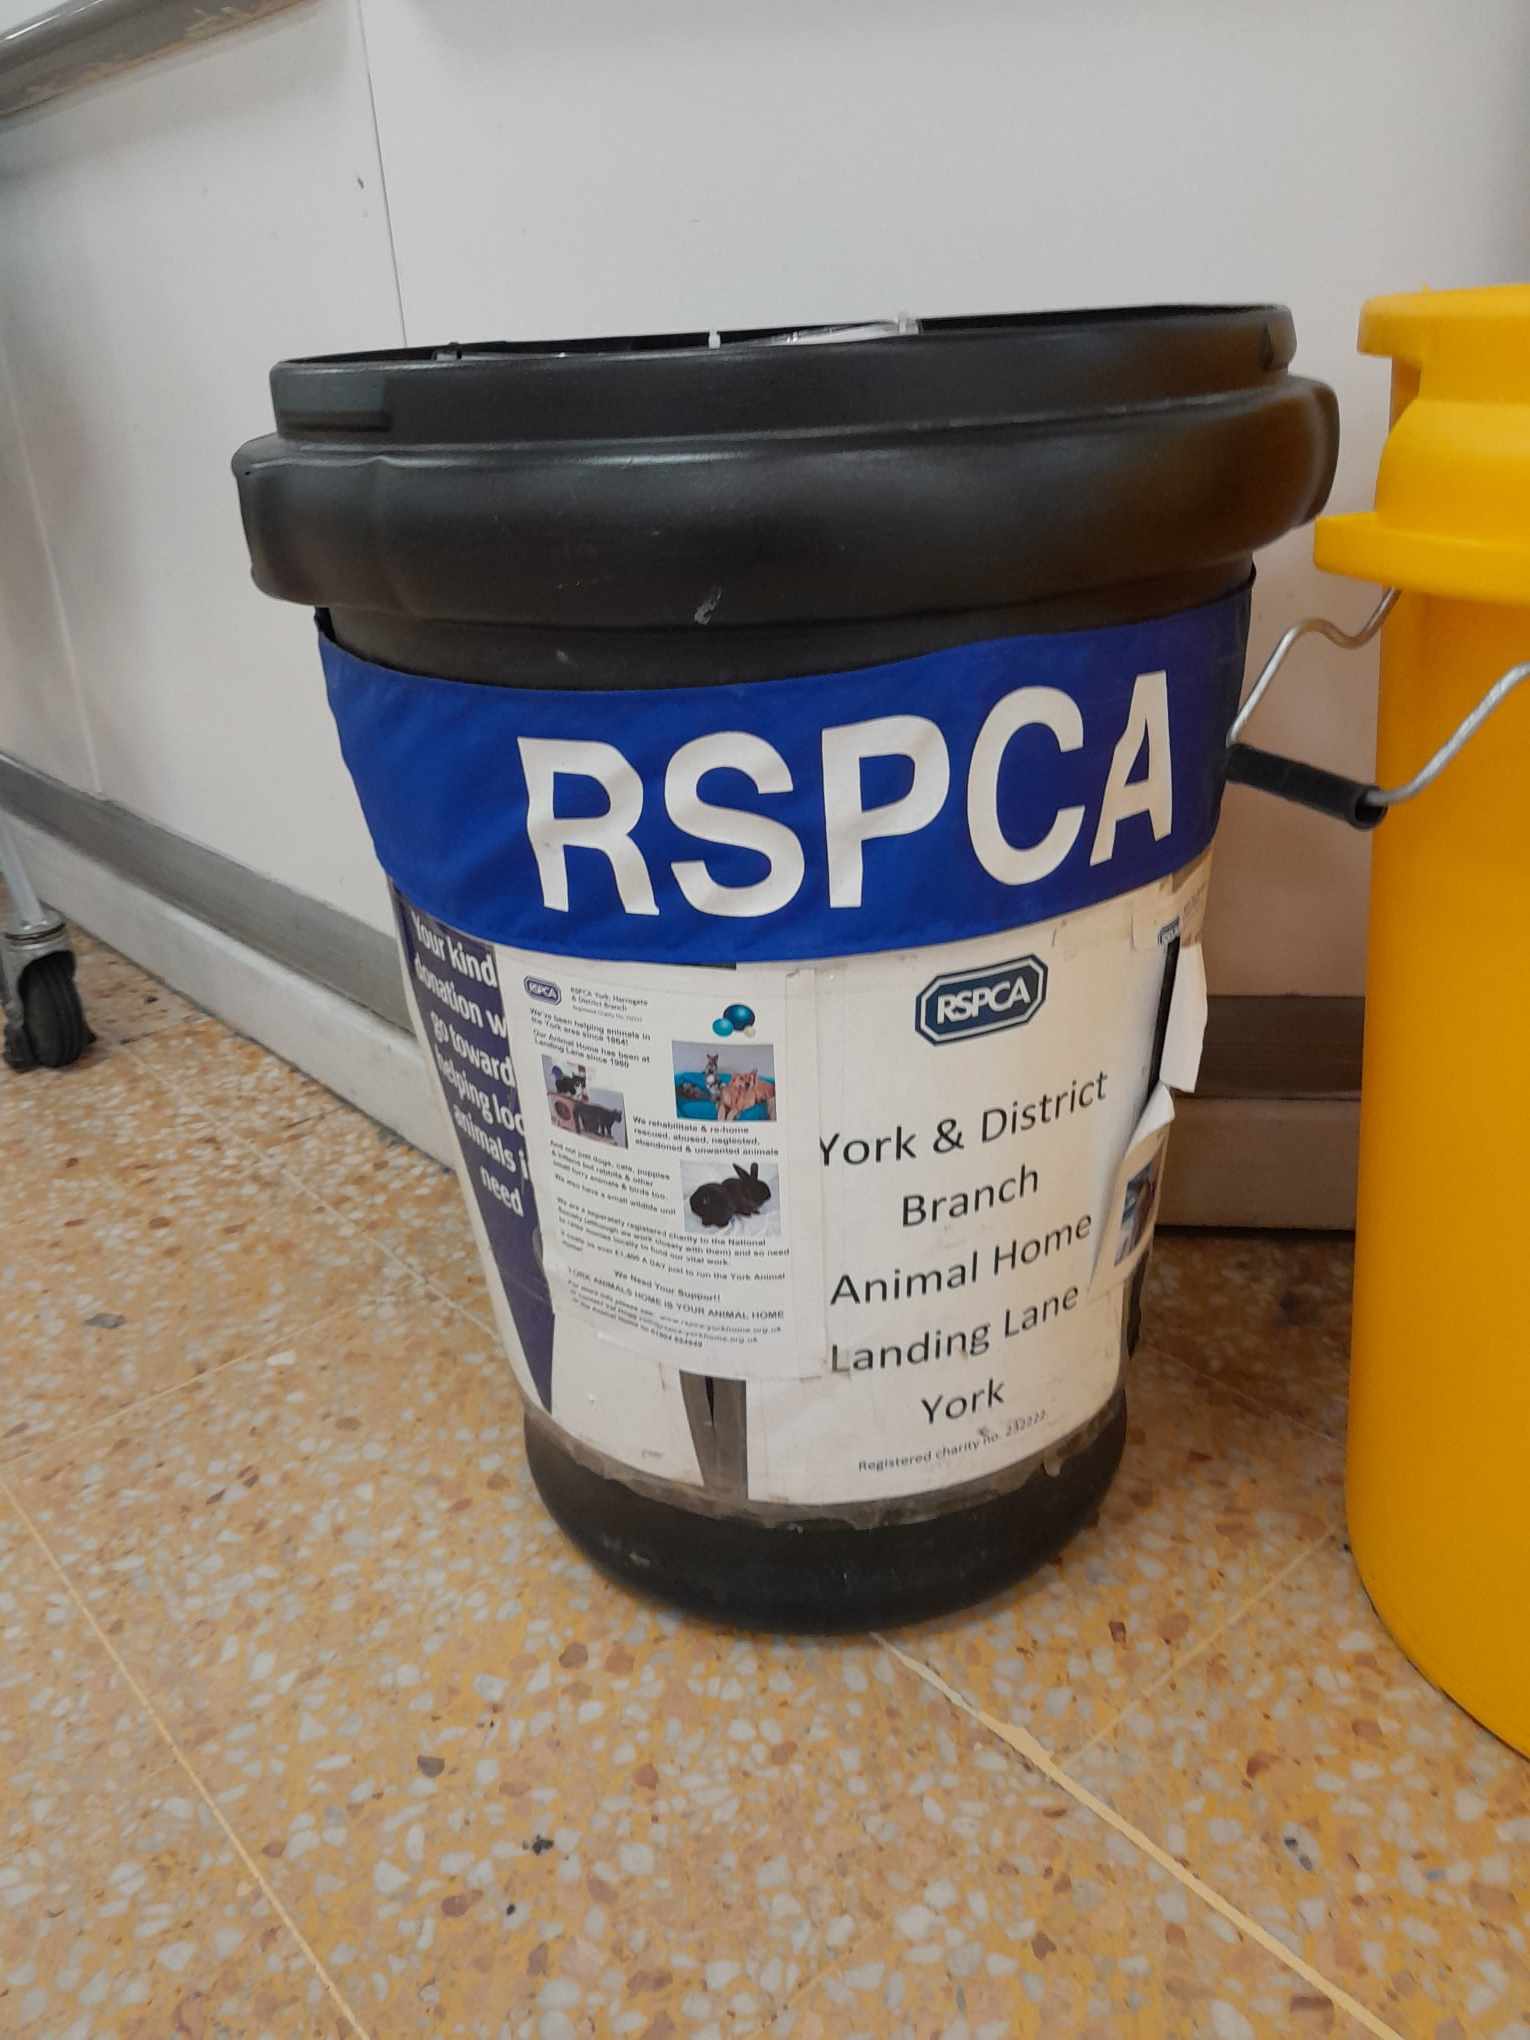
The cost of living crisis has seen us all tighten our
belts.
I have certainly changed my
shopping habits to buying what is needed with a few treats, instead of picking stuff randomly off the shelf! I
am trying to waste less, to buy what I need and although it isn’t saving me any
money which it might have done a few years ago, I am keeping my bills under
control. But I am one of the lucky ones as we still have a decent income coming
in each month. For others it is somewhat harder.

Donate your old pens and pencils to
Pens for Kids
e mail: sendingpens@pensforkids.co.uk
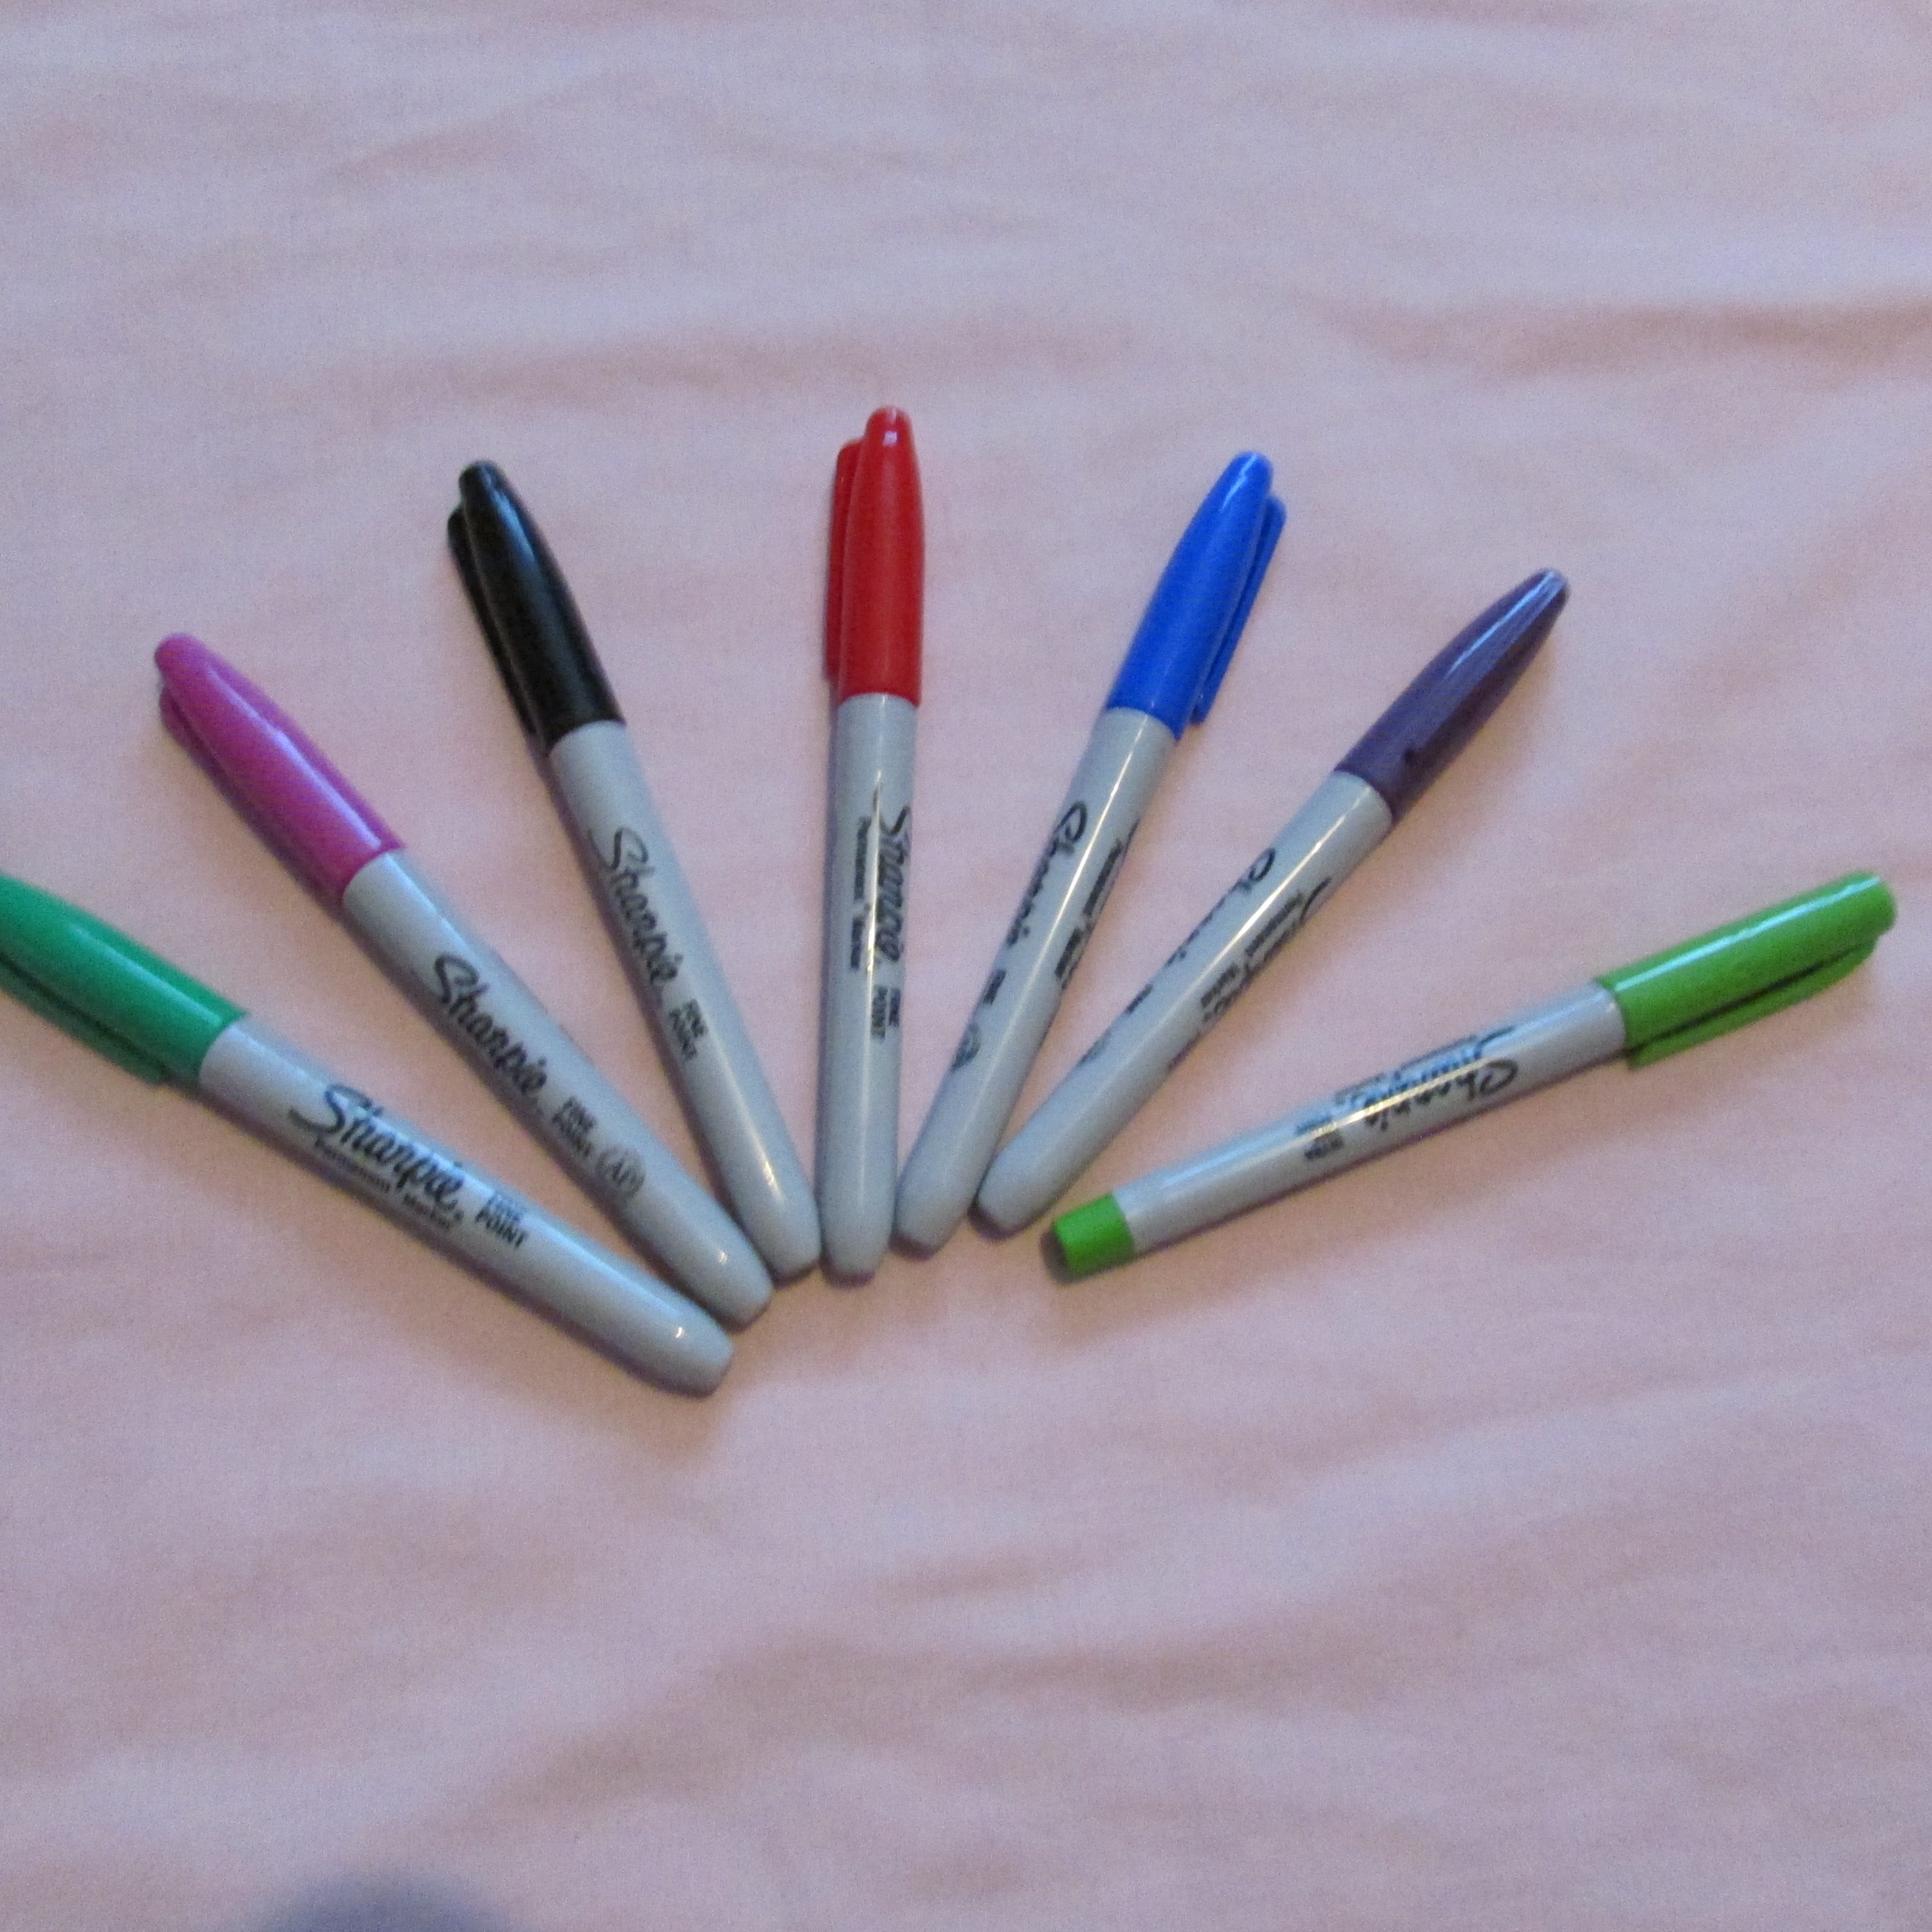
I don’t know what it is about my family but we have
drawers full of pencils and pens – we hoard them. Some have never been used remaining in
pristine condition, unsharpened and neglected. I do have a problem with pens in
that I am well known for picking up pens wherever I am. It is a compulsion that
I just can’t stop! If I’ve used a pen
somewhere or borrowed a pen, there is a very high chance that it will end up in
my pocket or bag. I just can’t help myself.
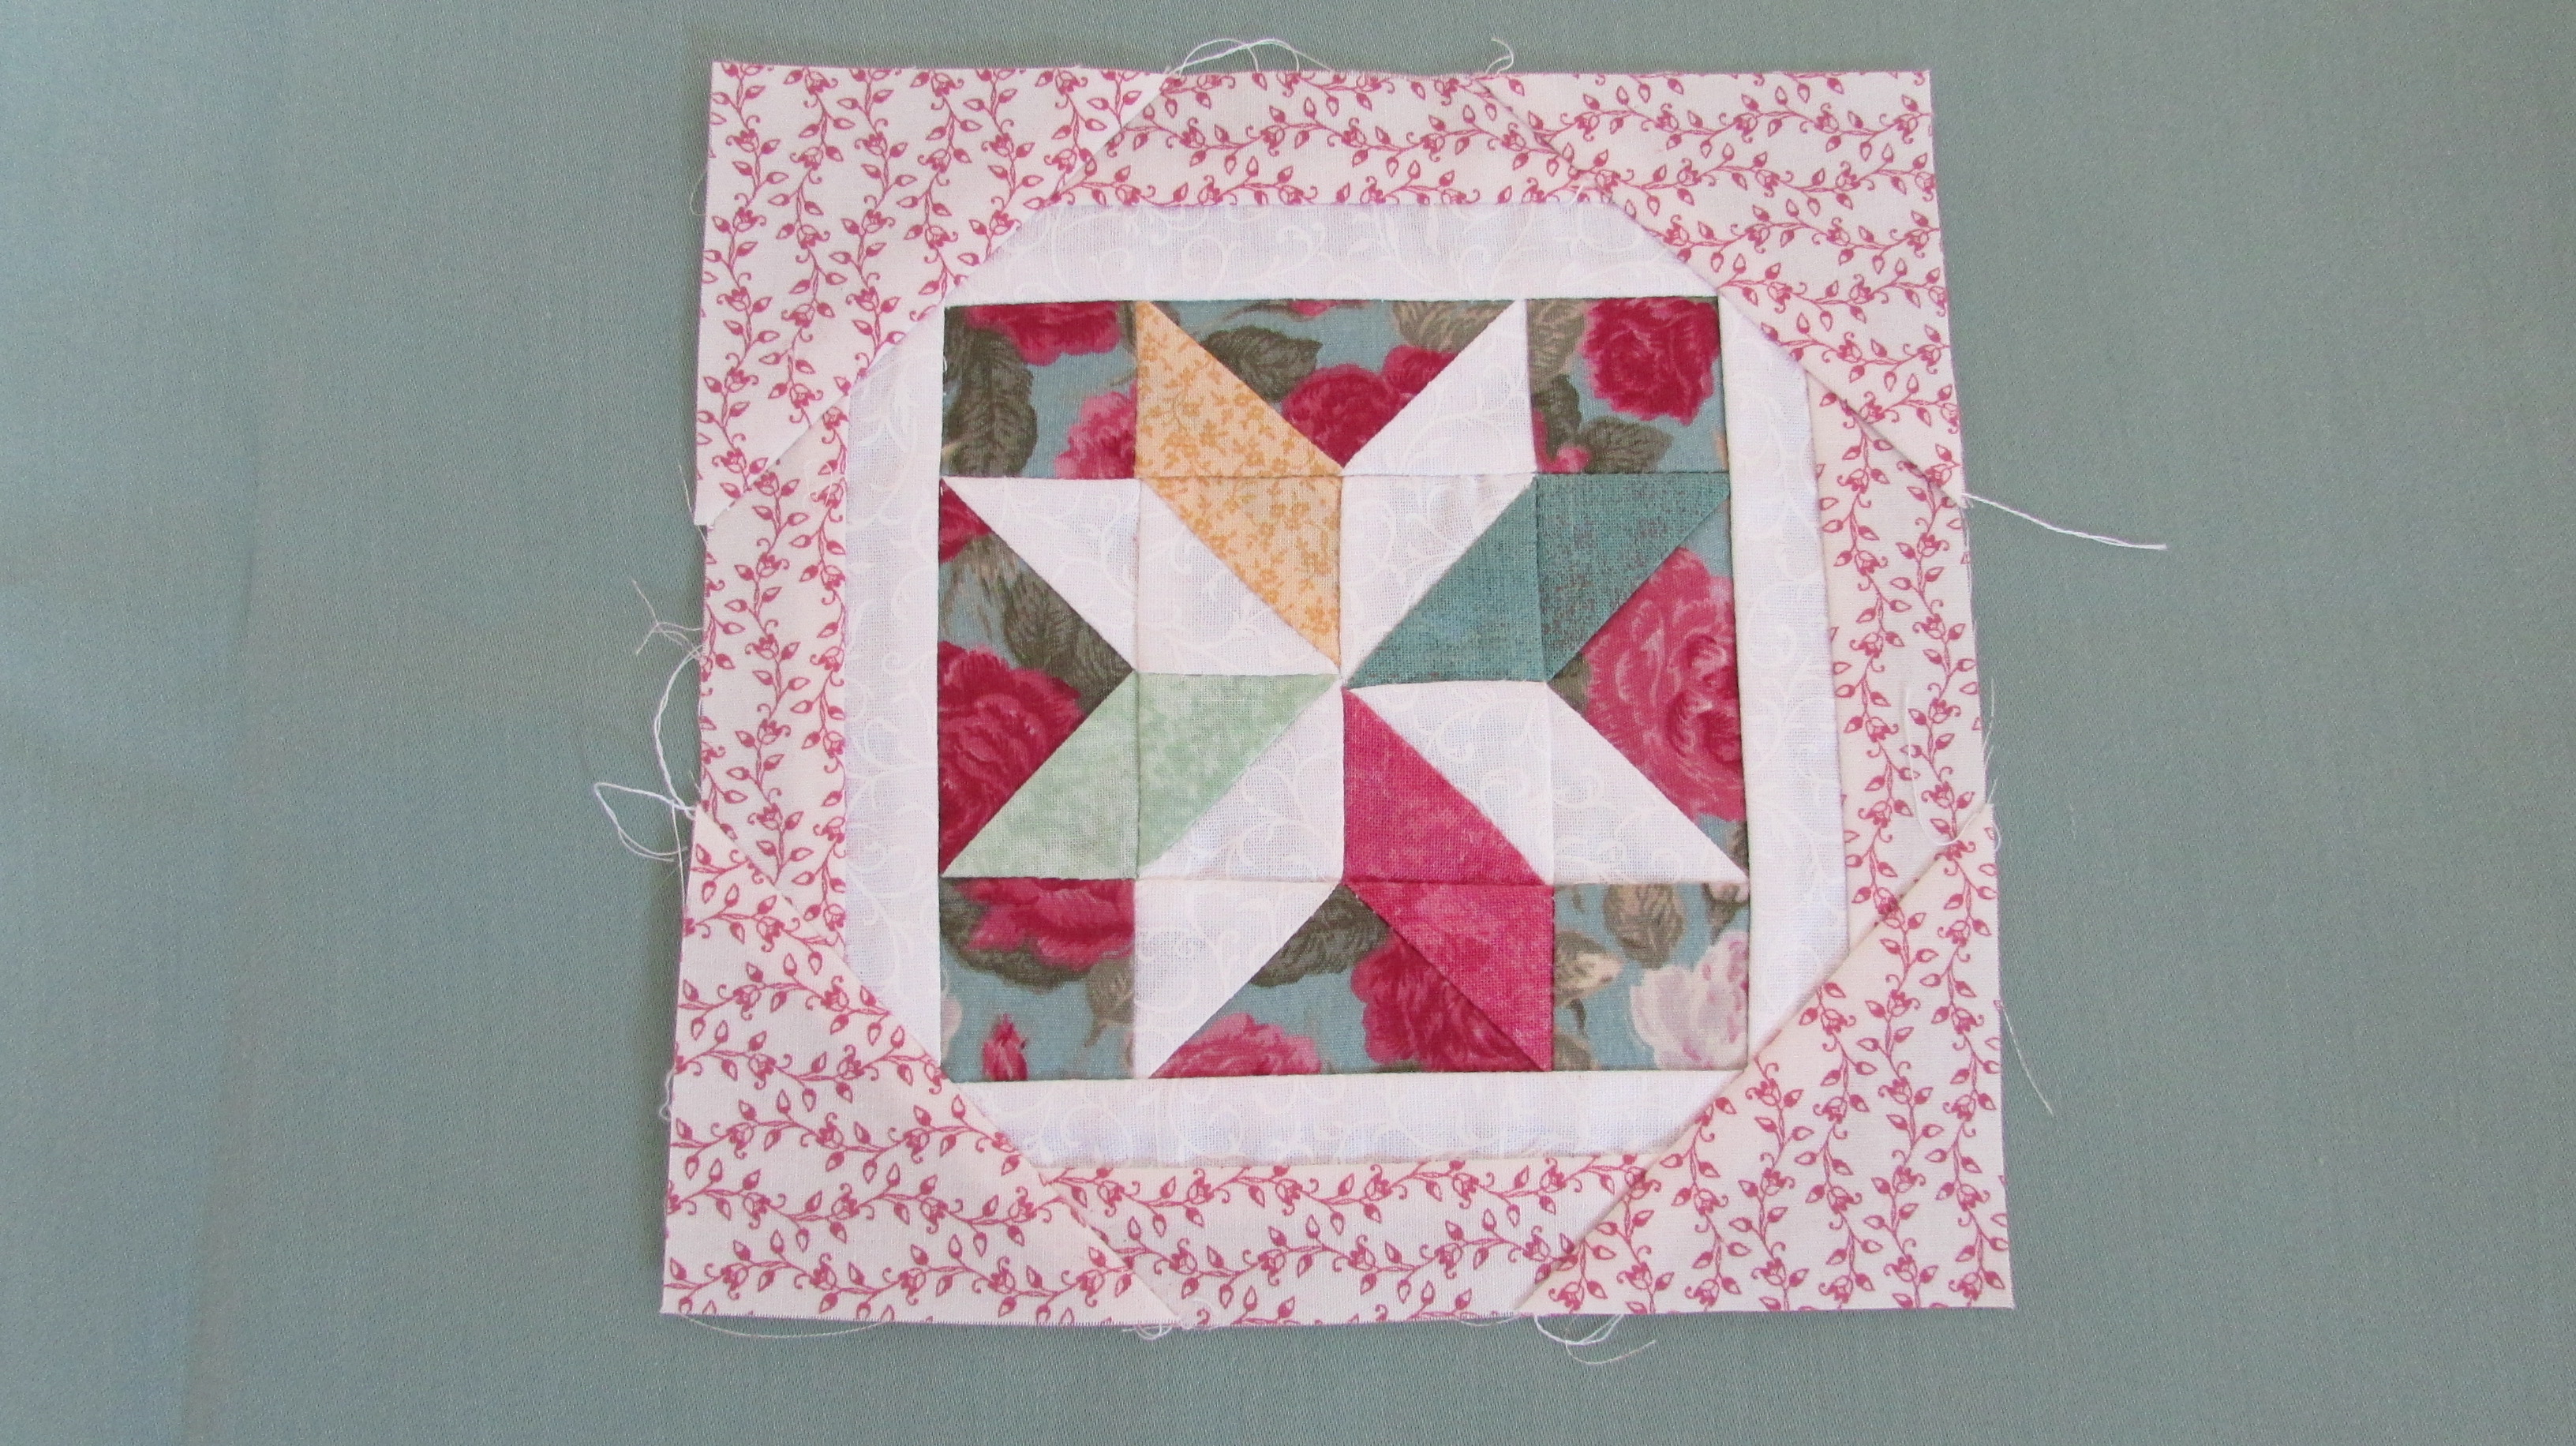
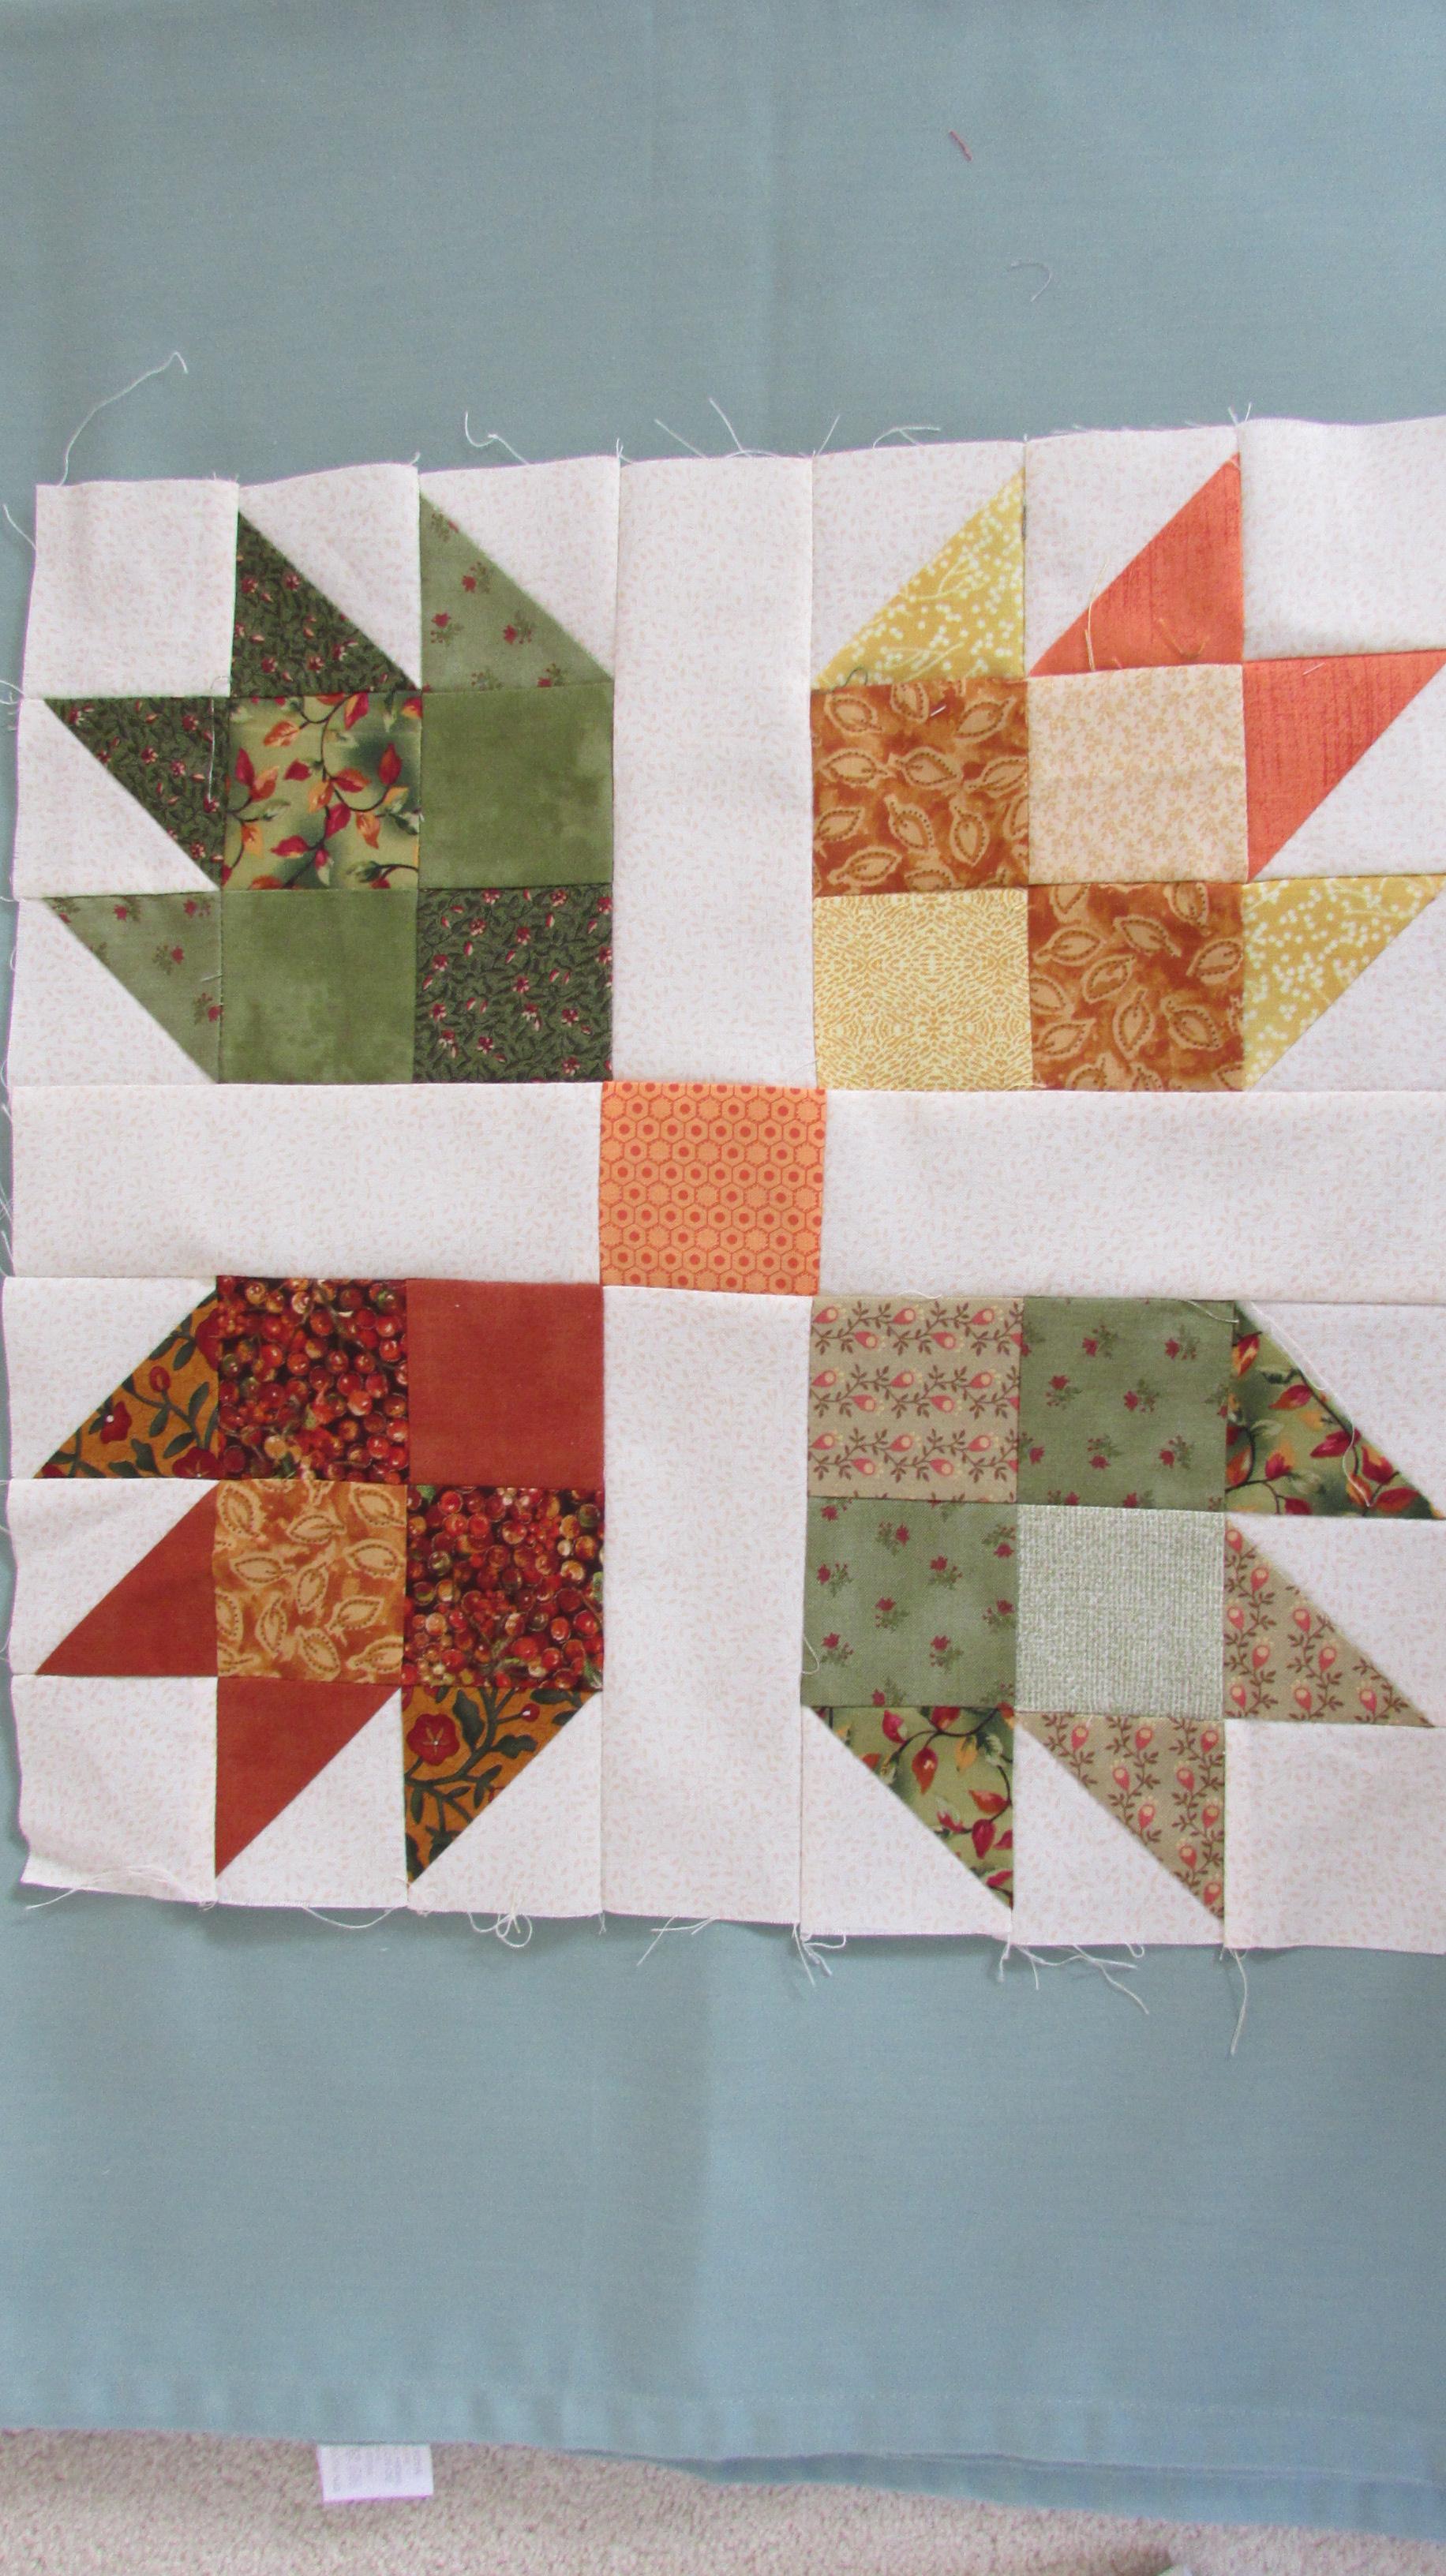
Quilts for Care Leavers
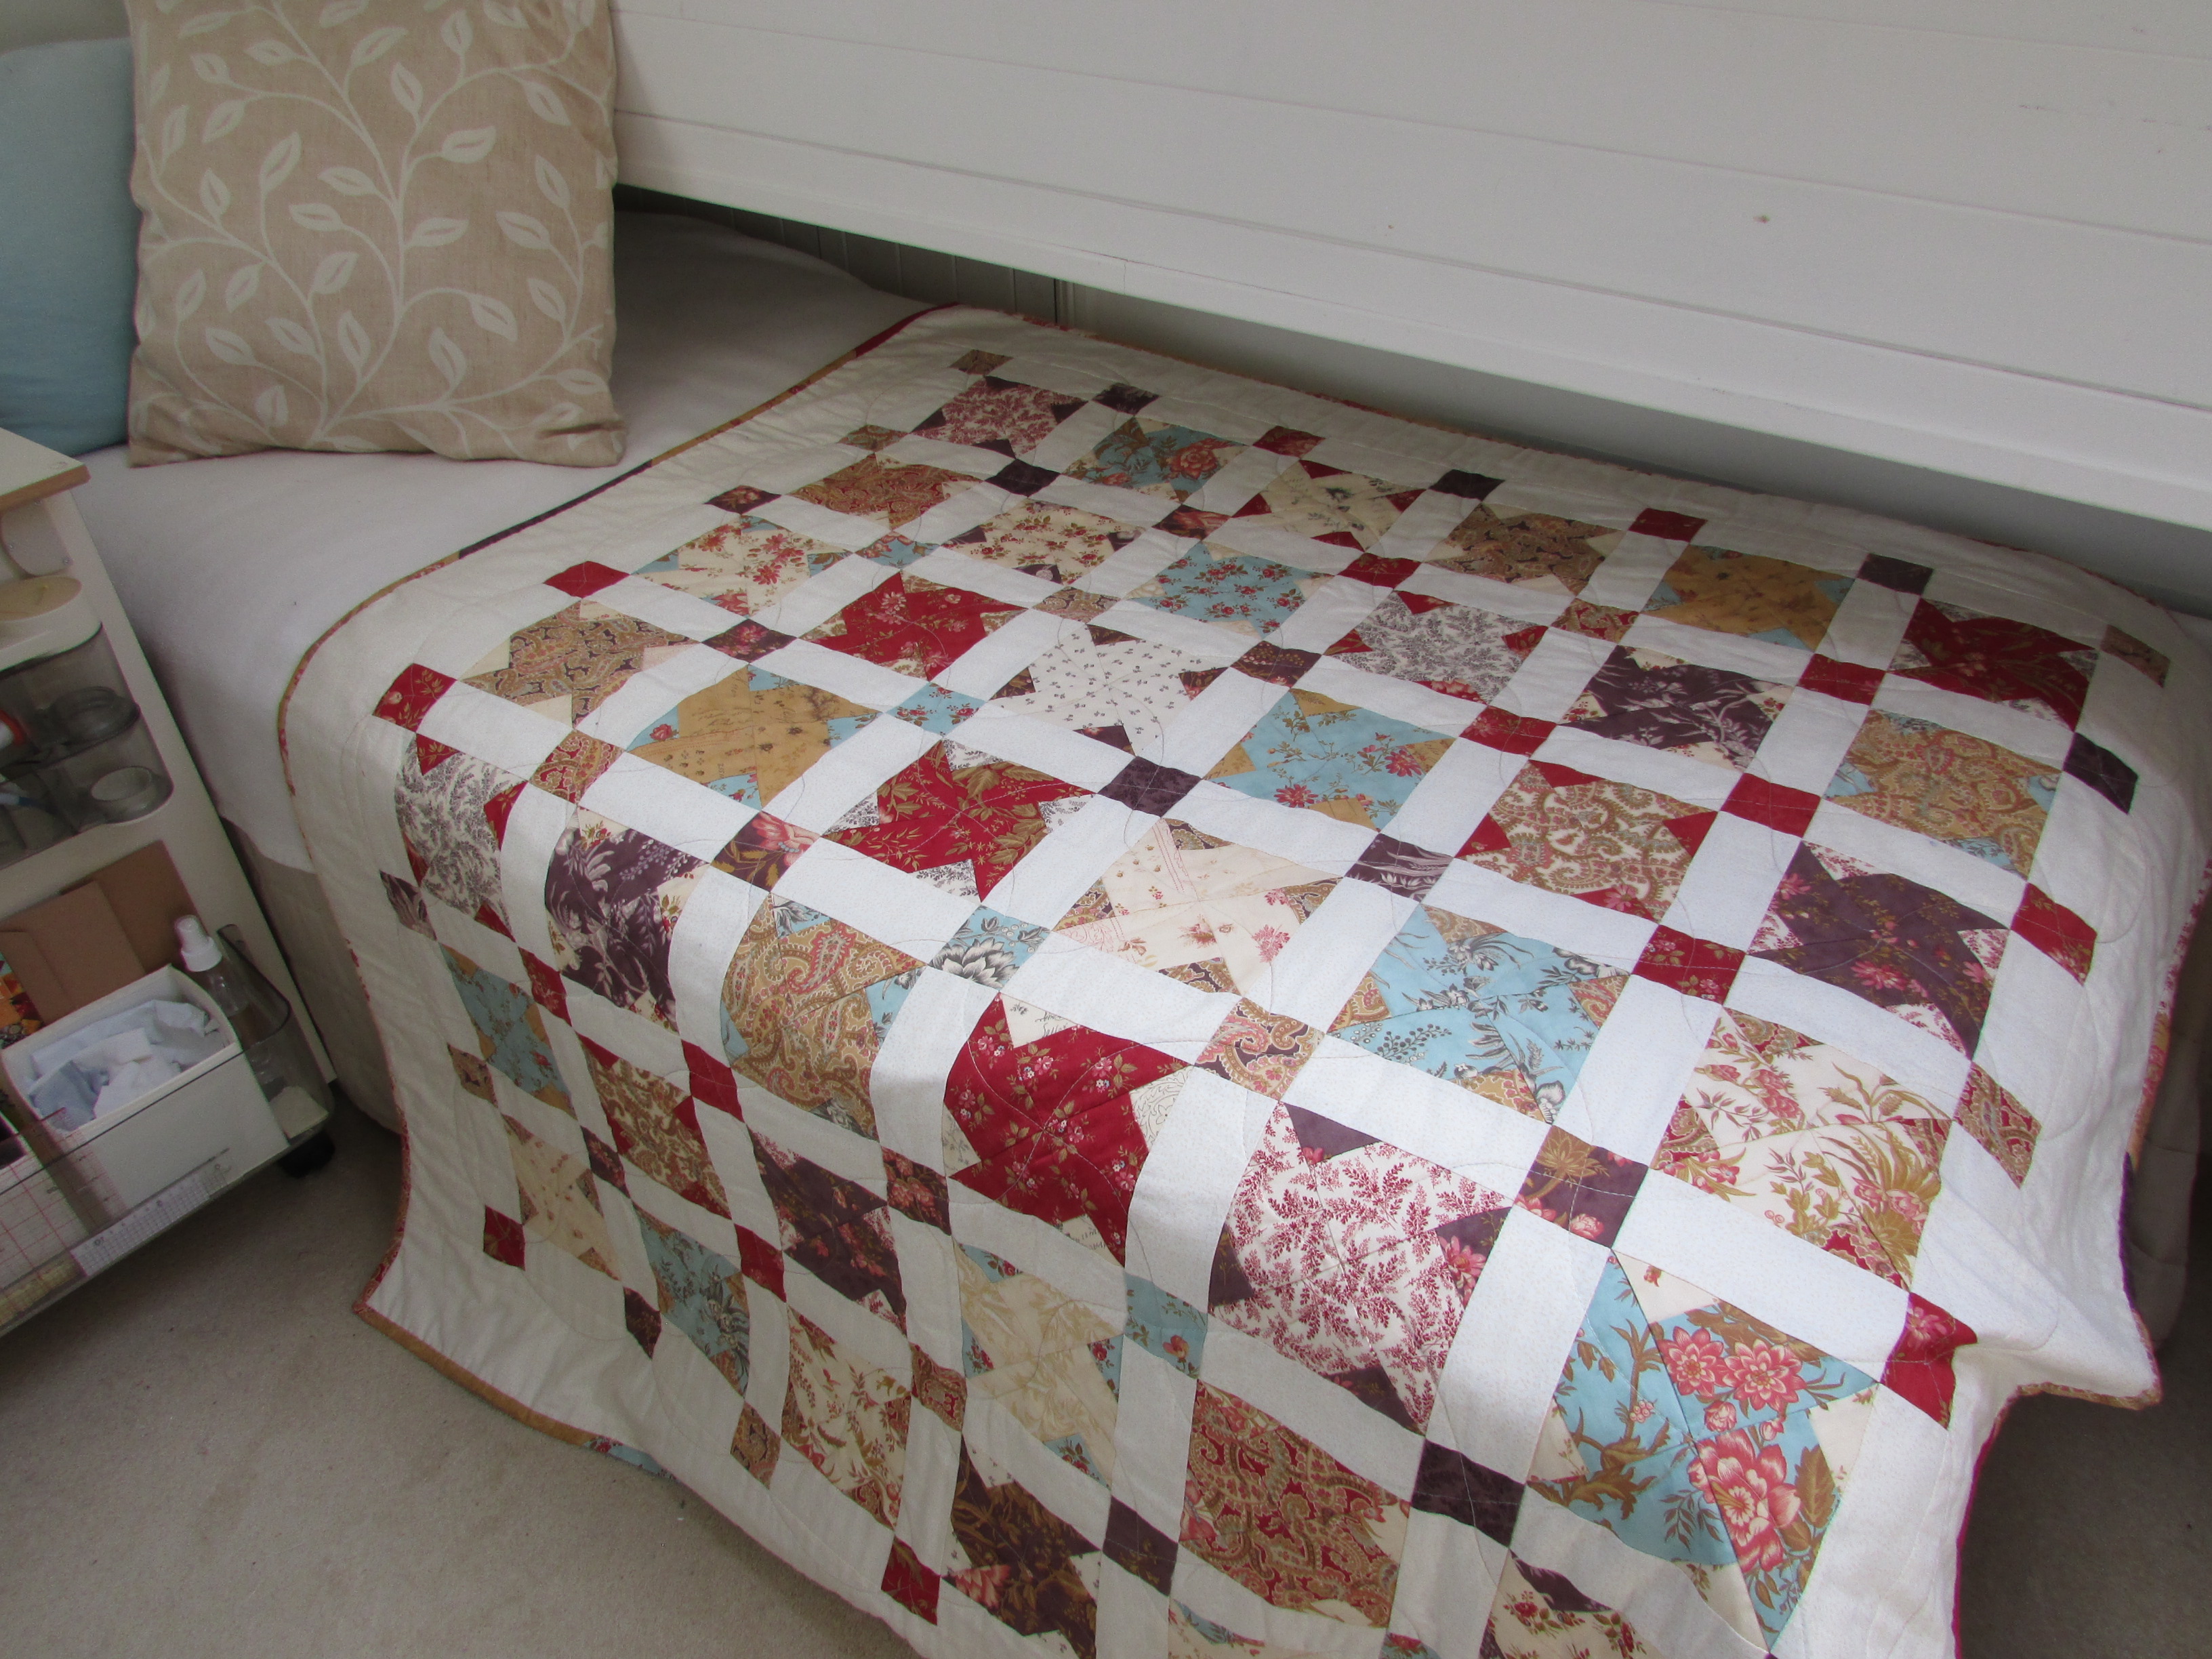
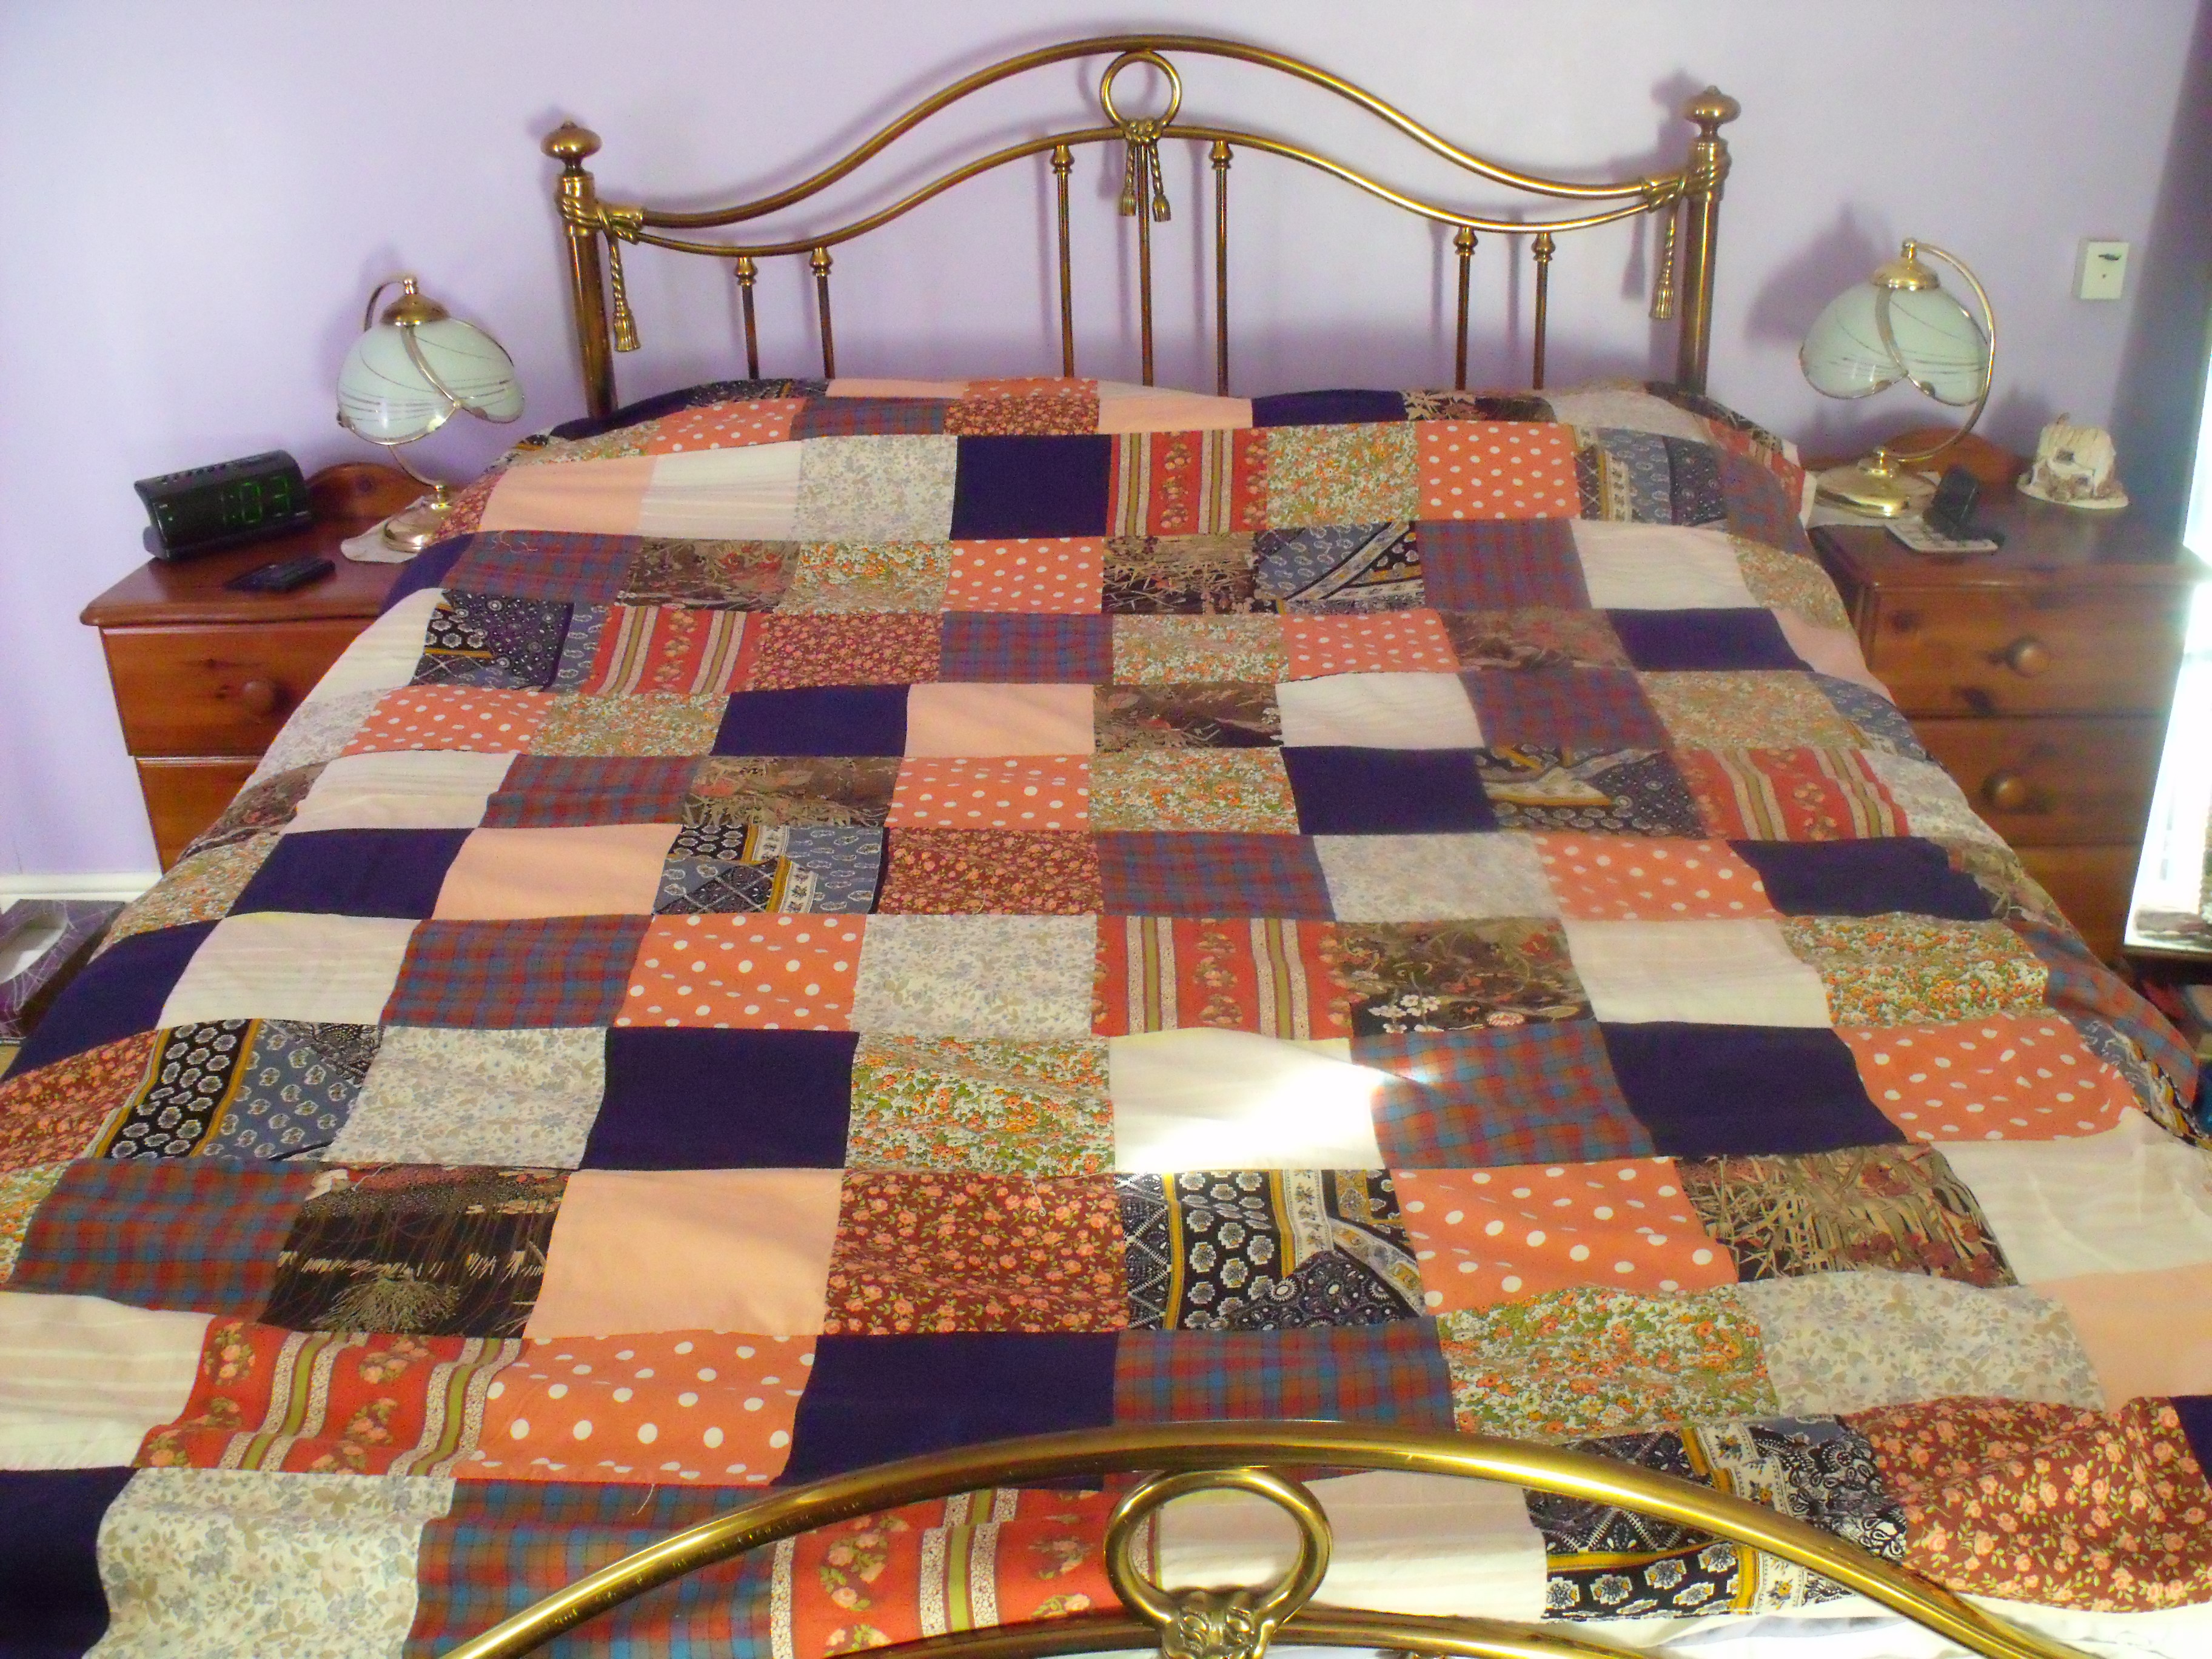
I’m not a
quilter but I love the thinking behind this small and relatively new
initiative. The organisation does not yet have charitable status but is in the
process of applying for it.
Help provide comfort for cats and dogs by
Crafting a blanket or soft toy
Useful addresses:
Captain Cat-Battler the catnip mouse
You will need
Abbreviations
K =
knit
P =
purl
M1 =
make one (make stitch from yarn between stitches)
To make Captain Cat-Battler Catnip Mouse
Body
Ears (make 2)
Finishing
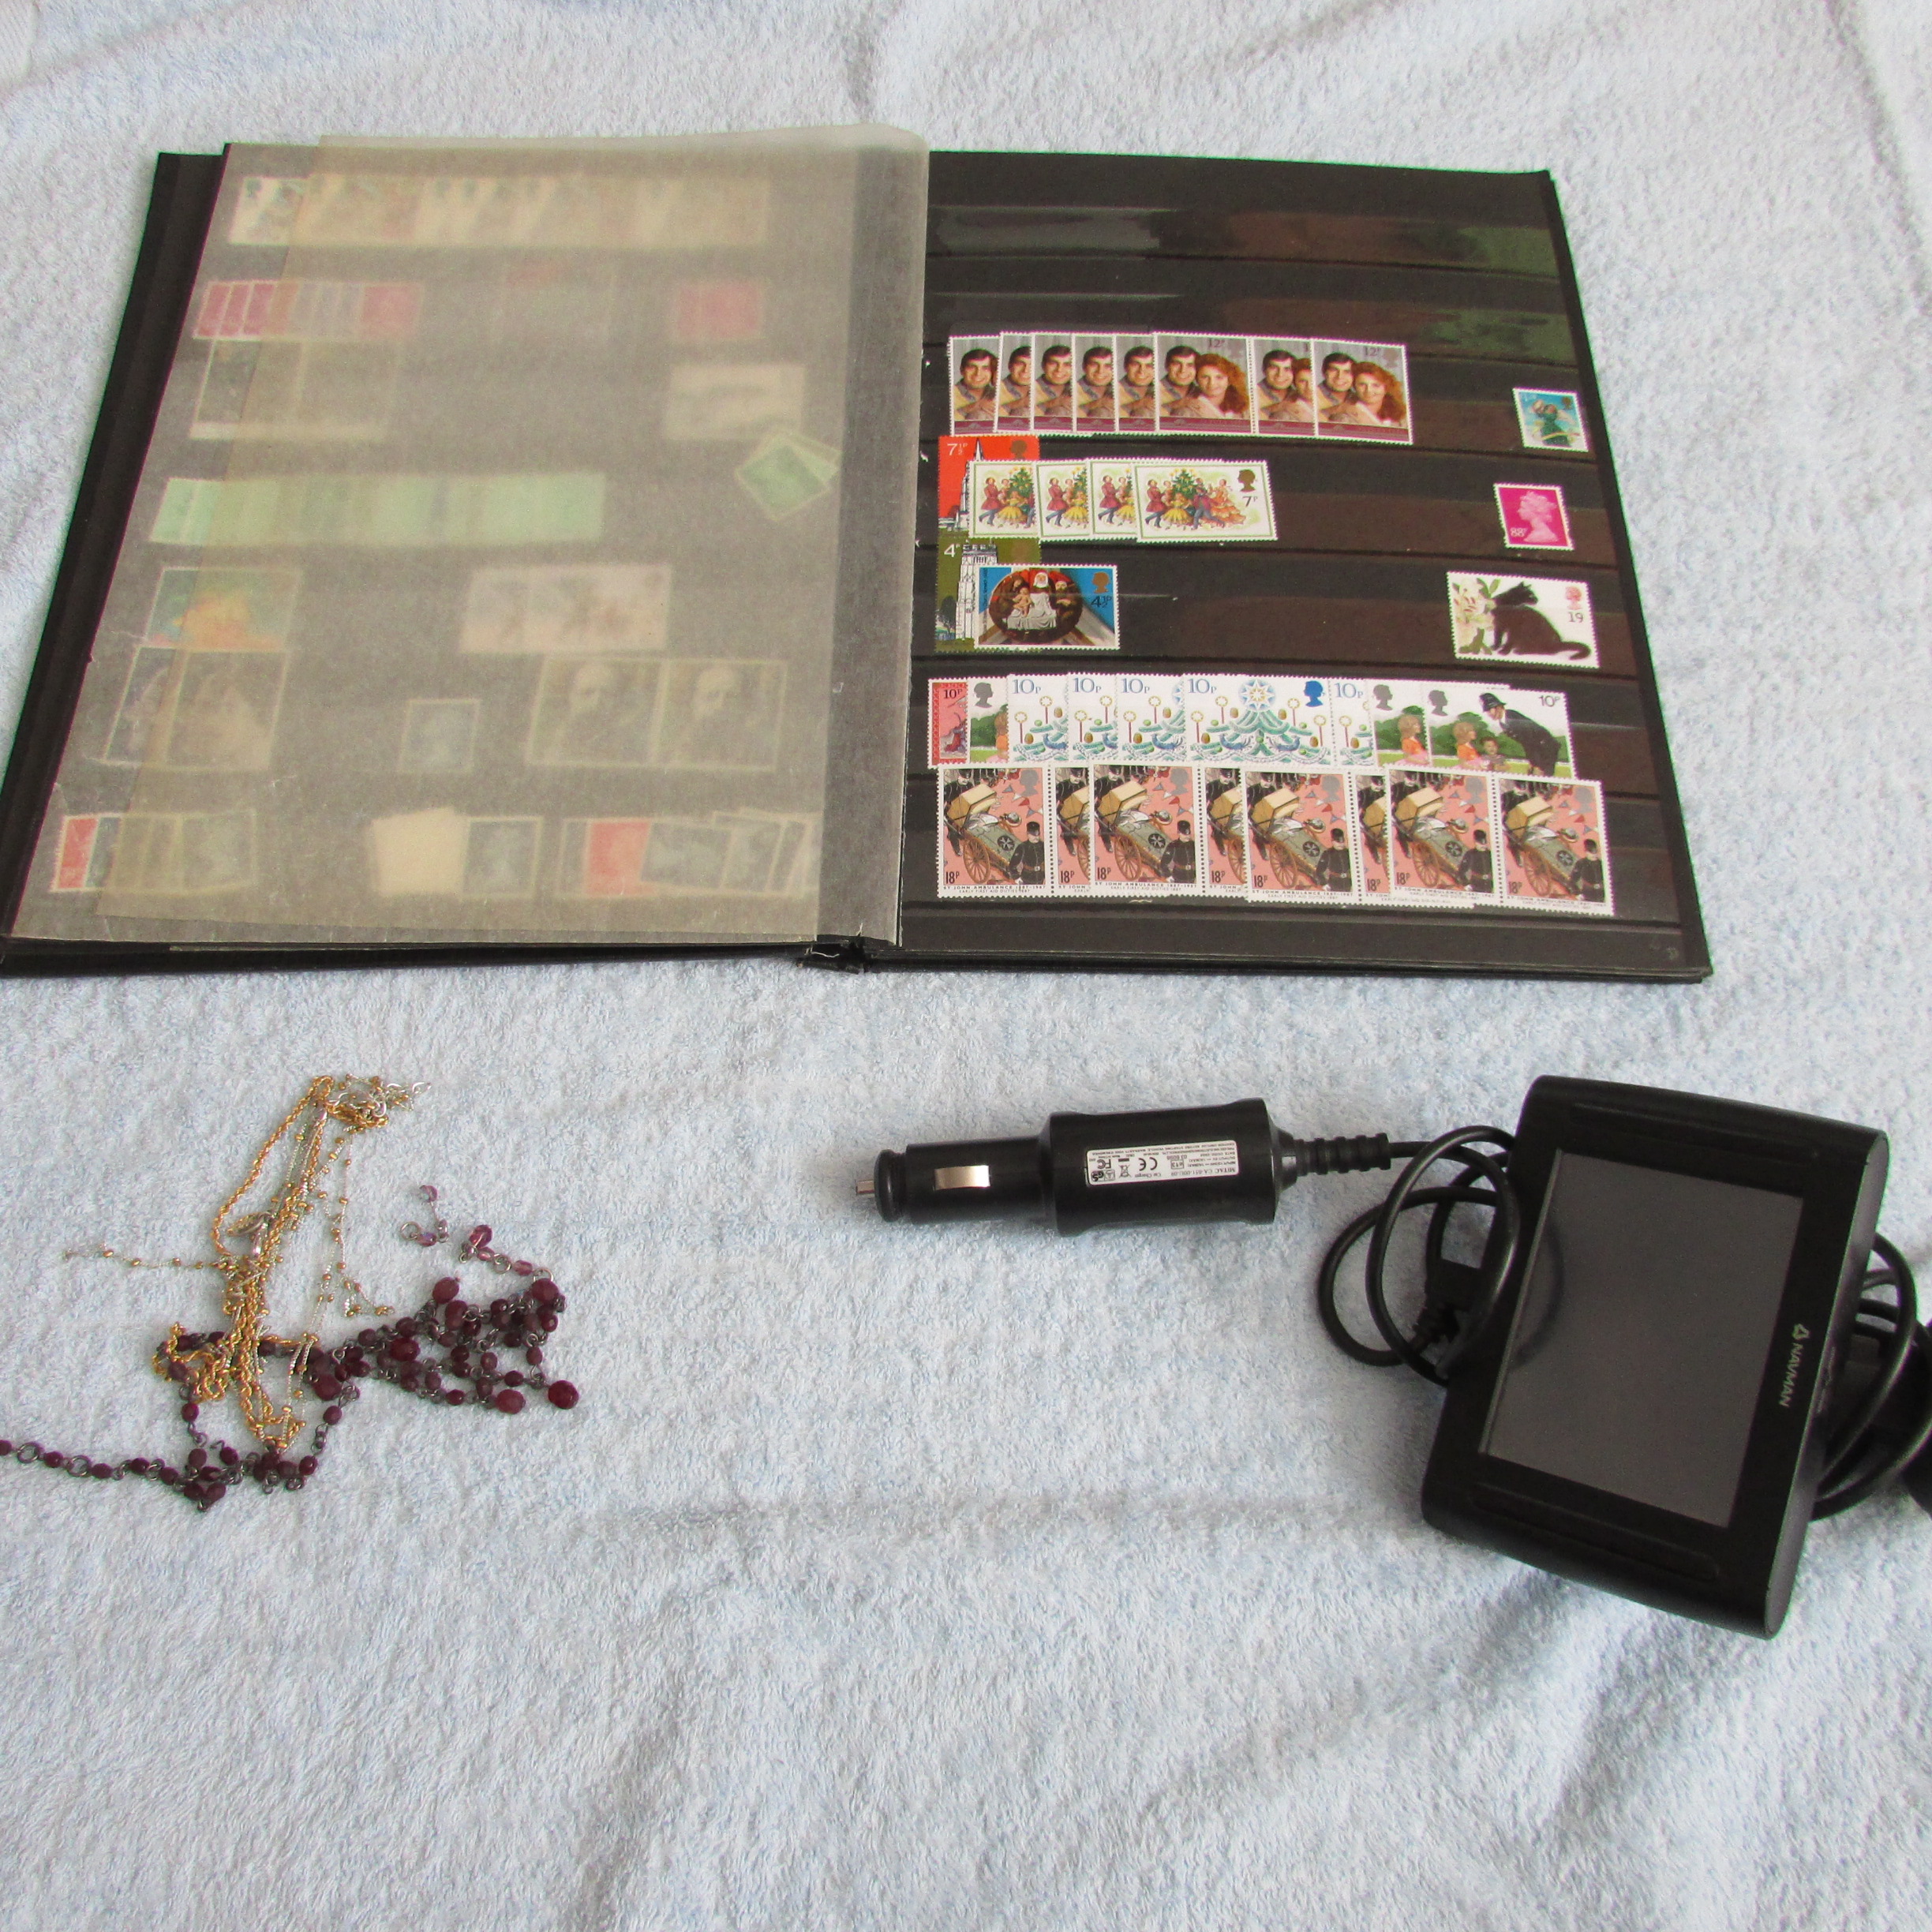
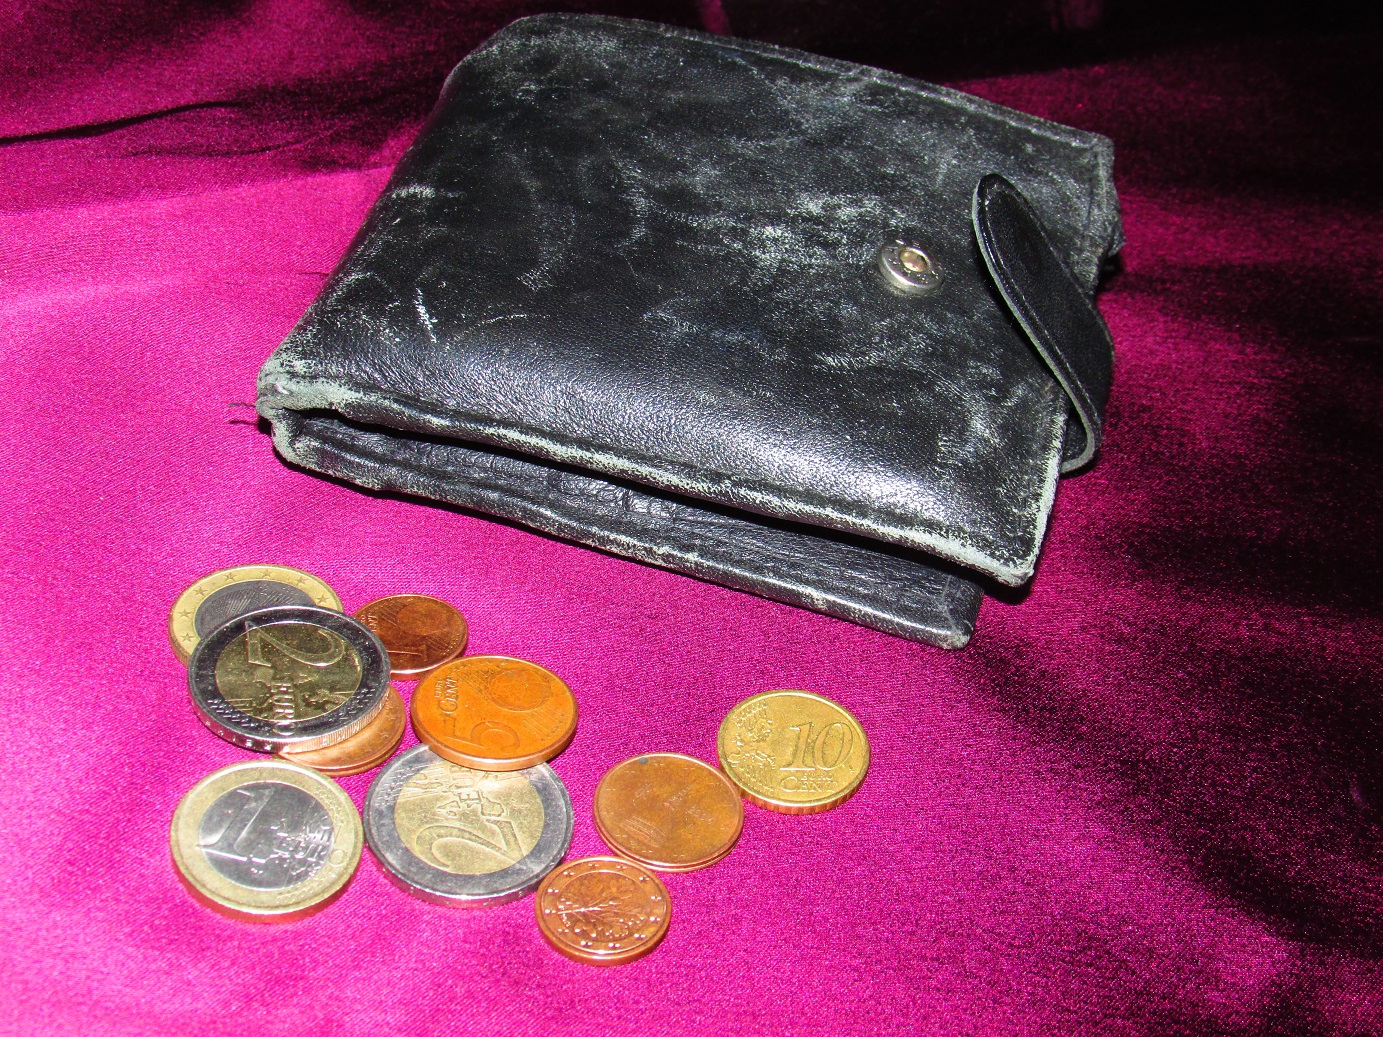
Donate foreign coins and notes to

How many of us are guilty of having a jar, drawer or wallet filled with old
foreign coins and notes? Coins and notes
for countries we are unlikely to visit again or whose currency has been
replaced by the Euro? I certainly have! As a child I used to be given left over
coins to play with and I often did the same with my own children. Notes were
usually exchanged on our return from trips abroad and put back on the holiday budget for the following year, but coins were not accepted
and were just left heaped up in jars and old purses or shoved in drawers.
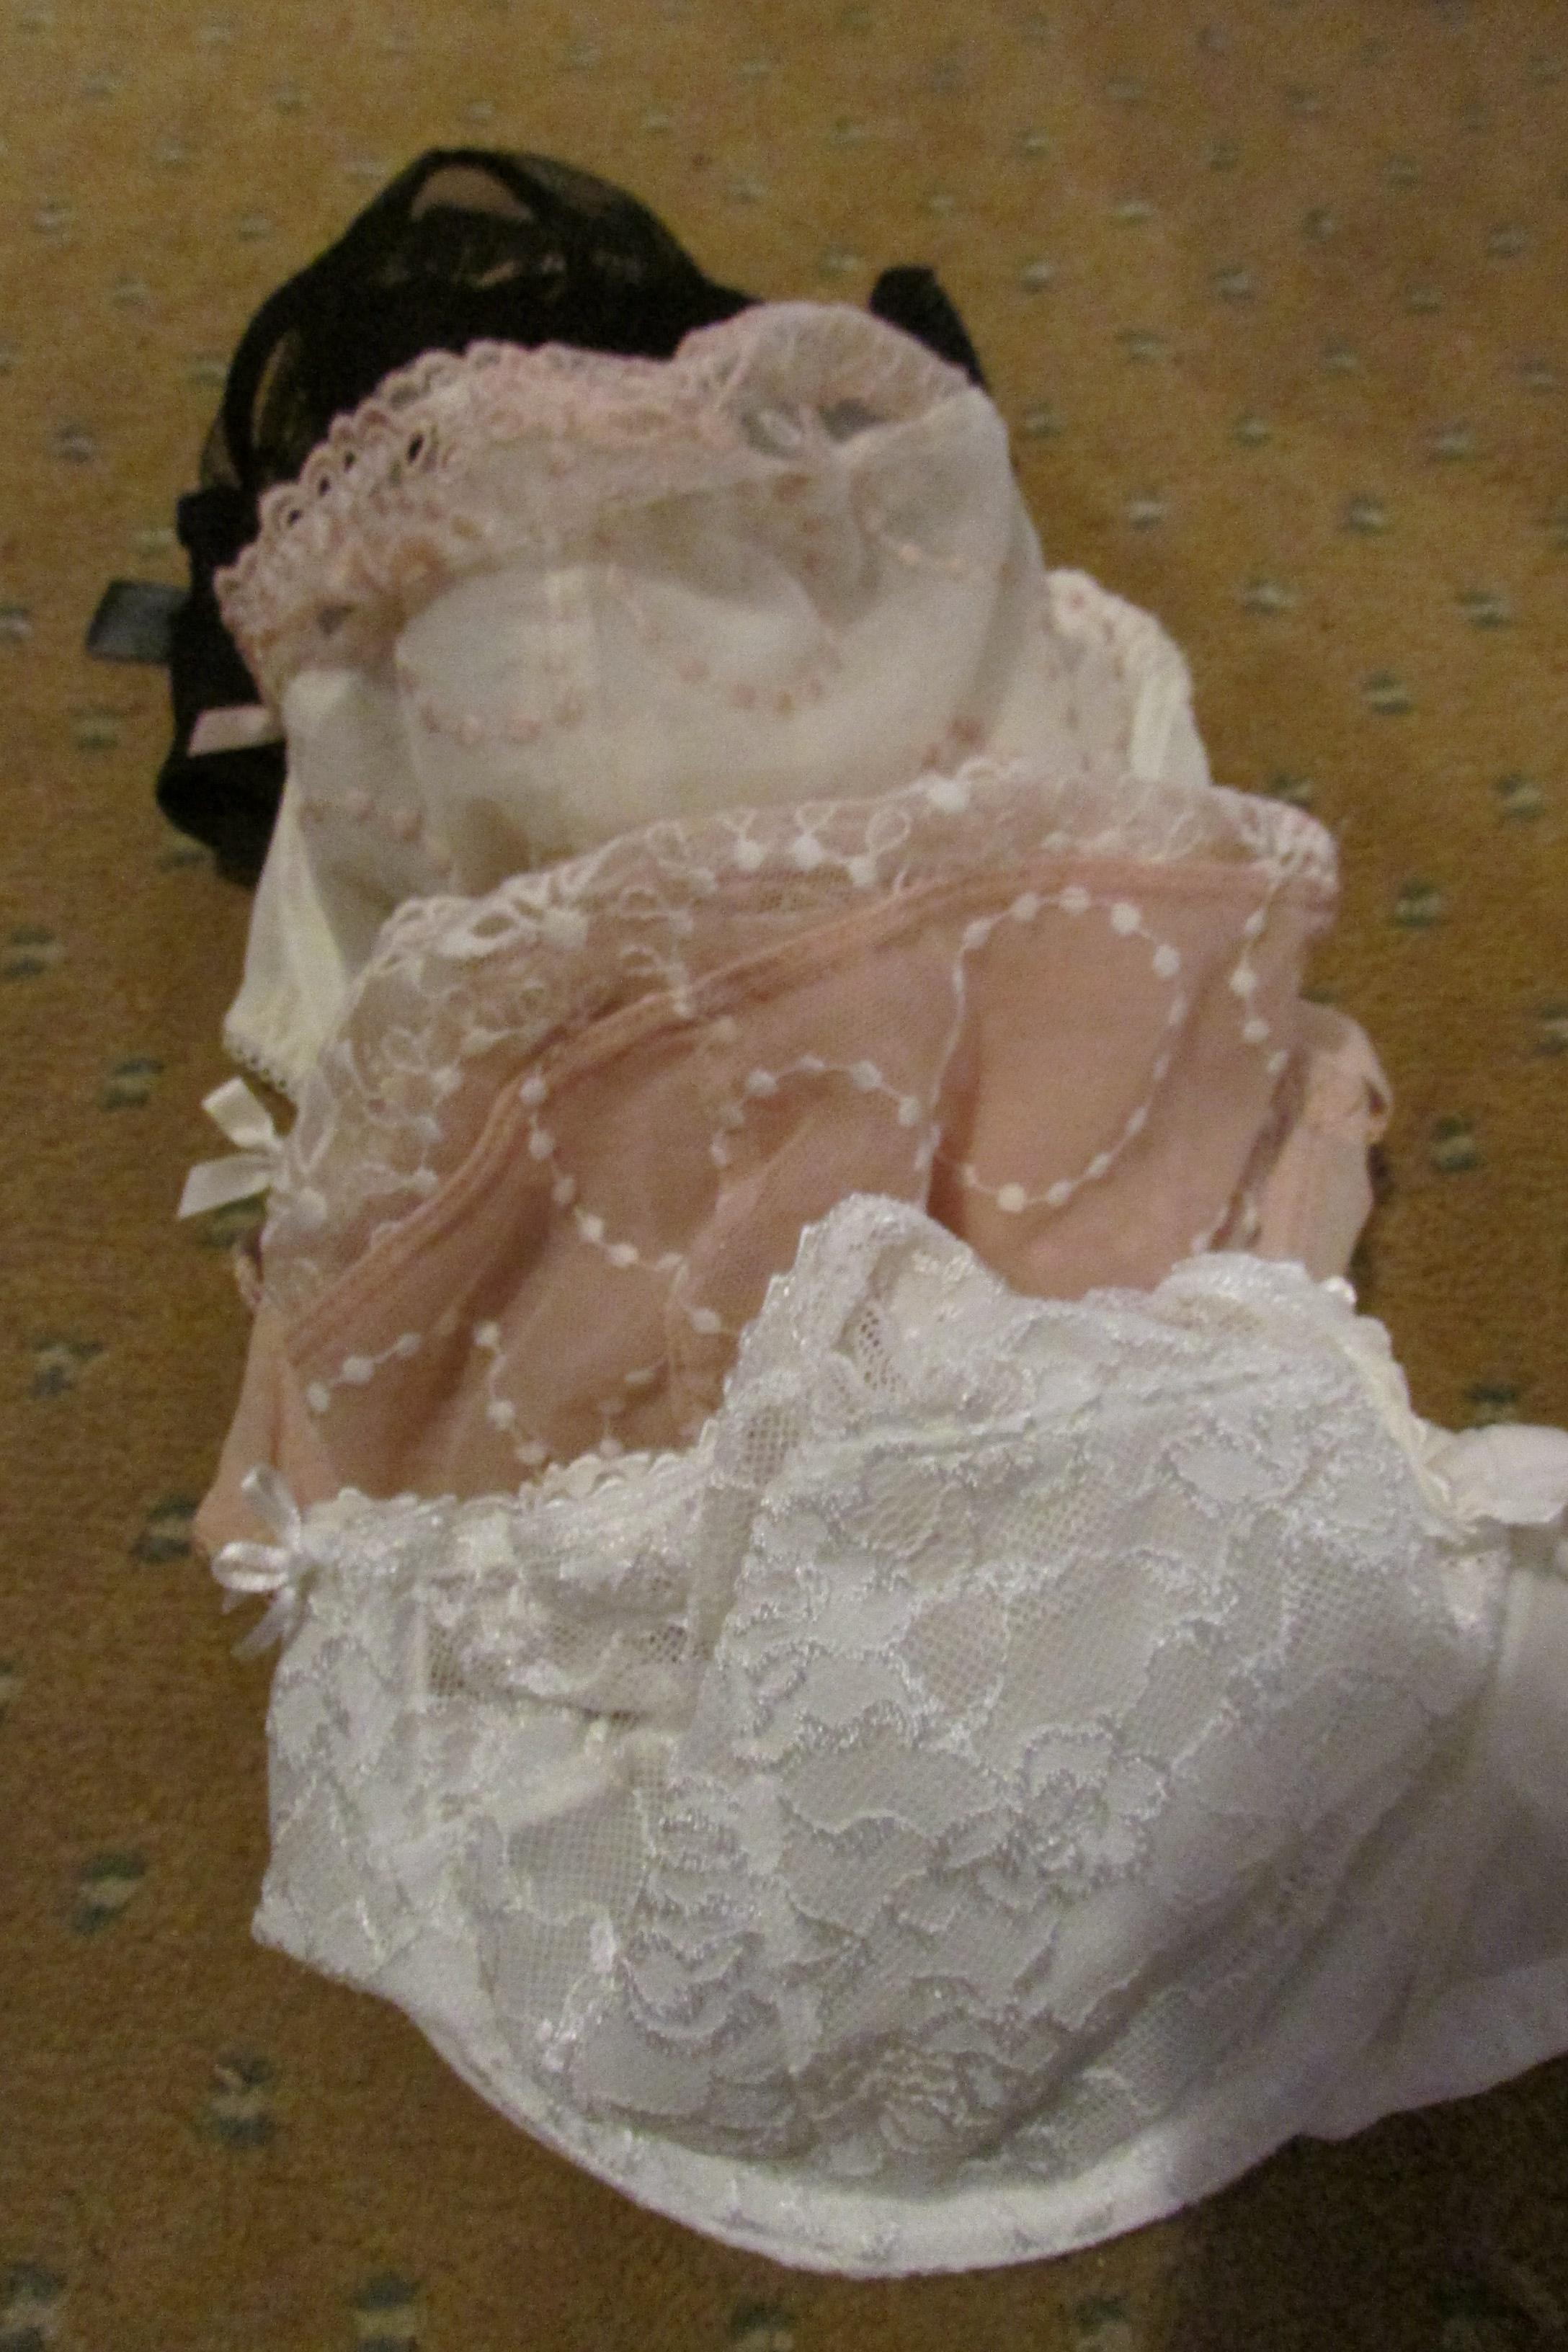
Donate your unloved bras for Bra recycling
www.againstbreastcancer.org.uk
@againstbreastcancer1
In 2021, two of my close friends were diagnosed with
breast cancer.
It was a dreadful shock.
Collect unwanted toiletries for
Toiletries Amnesty
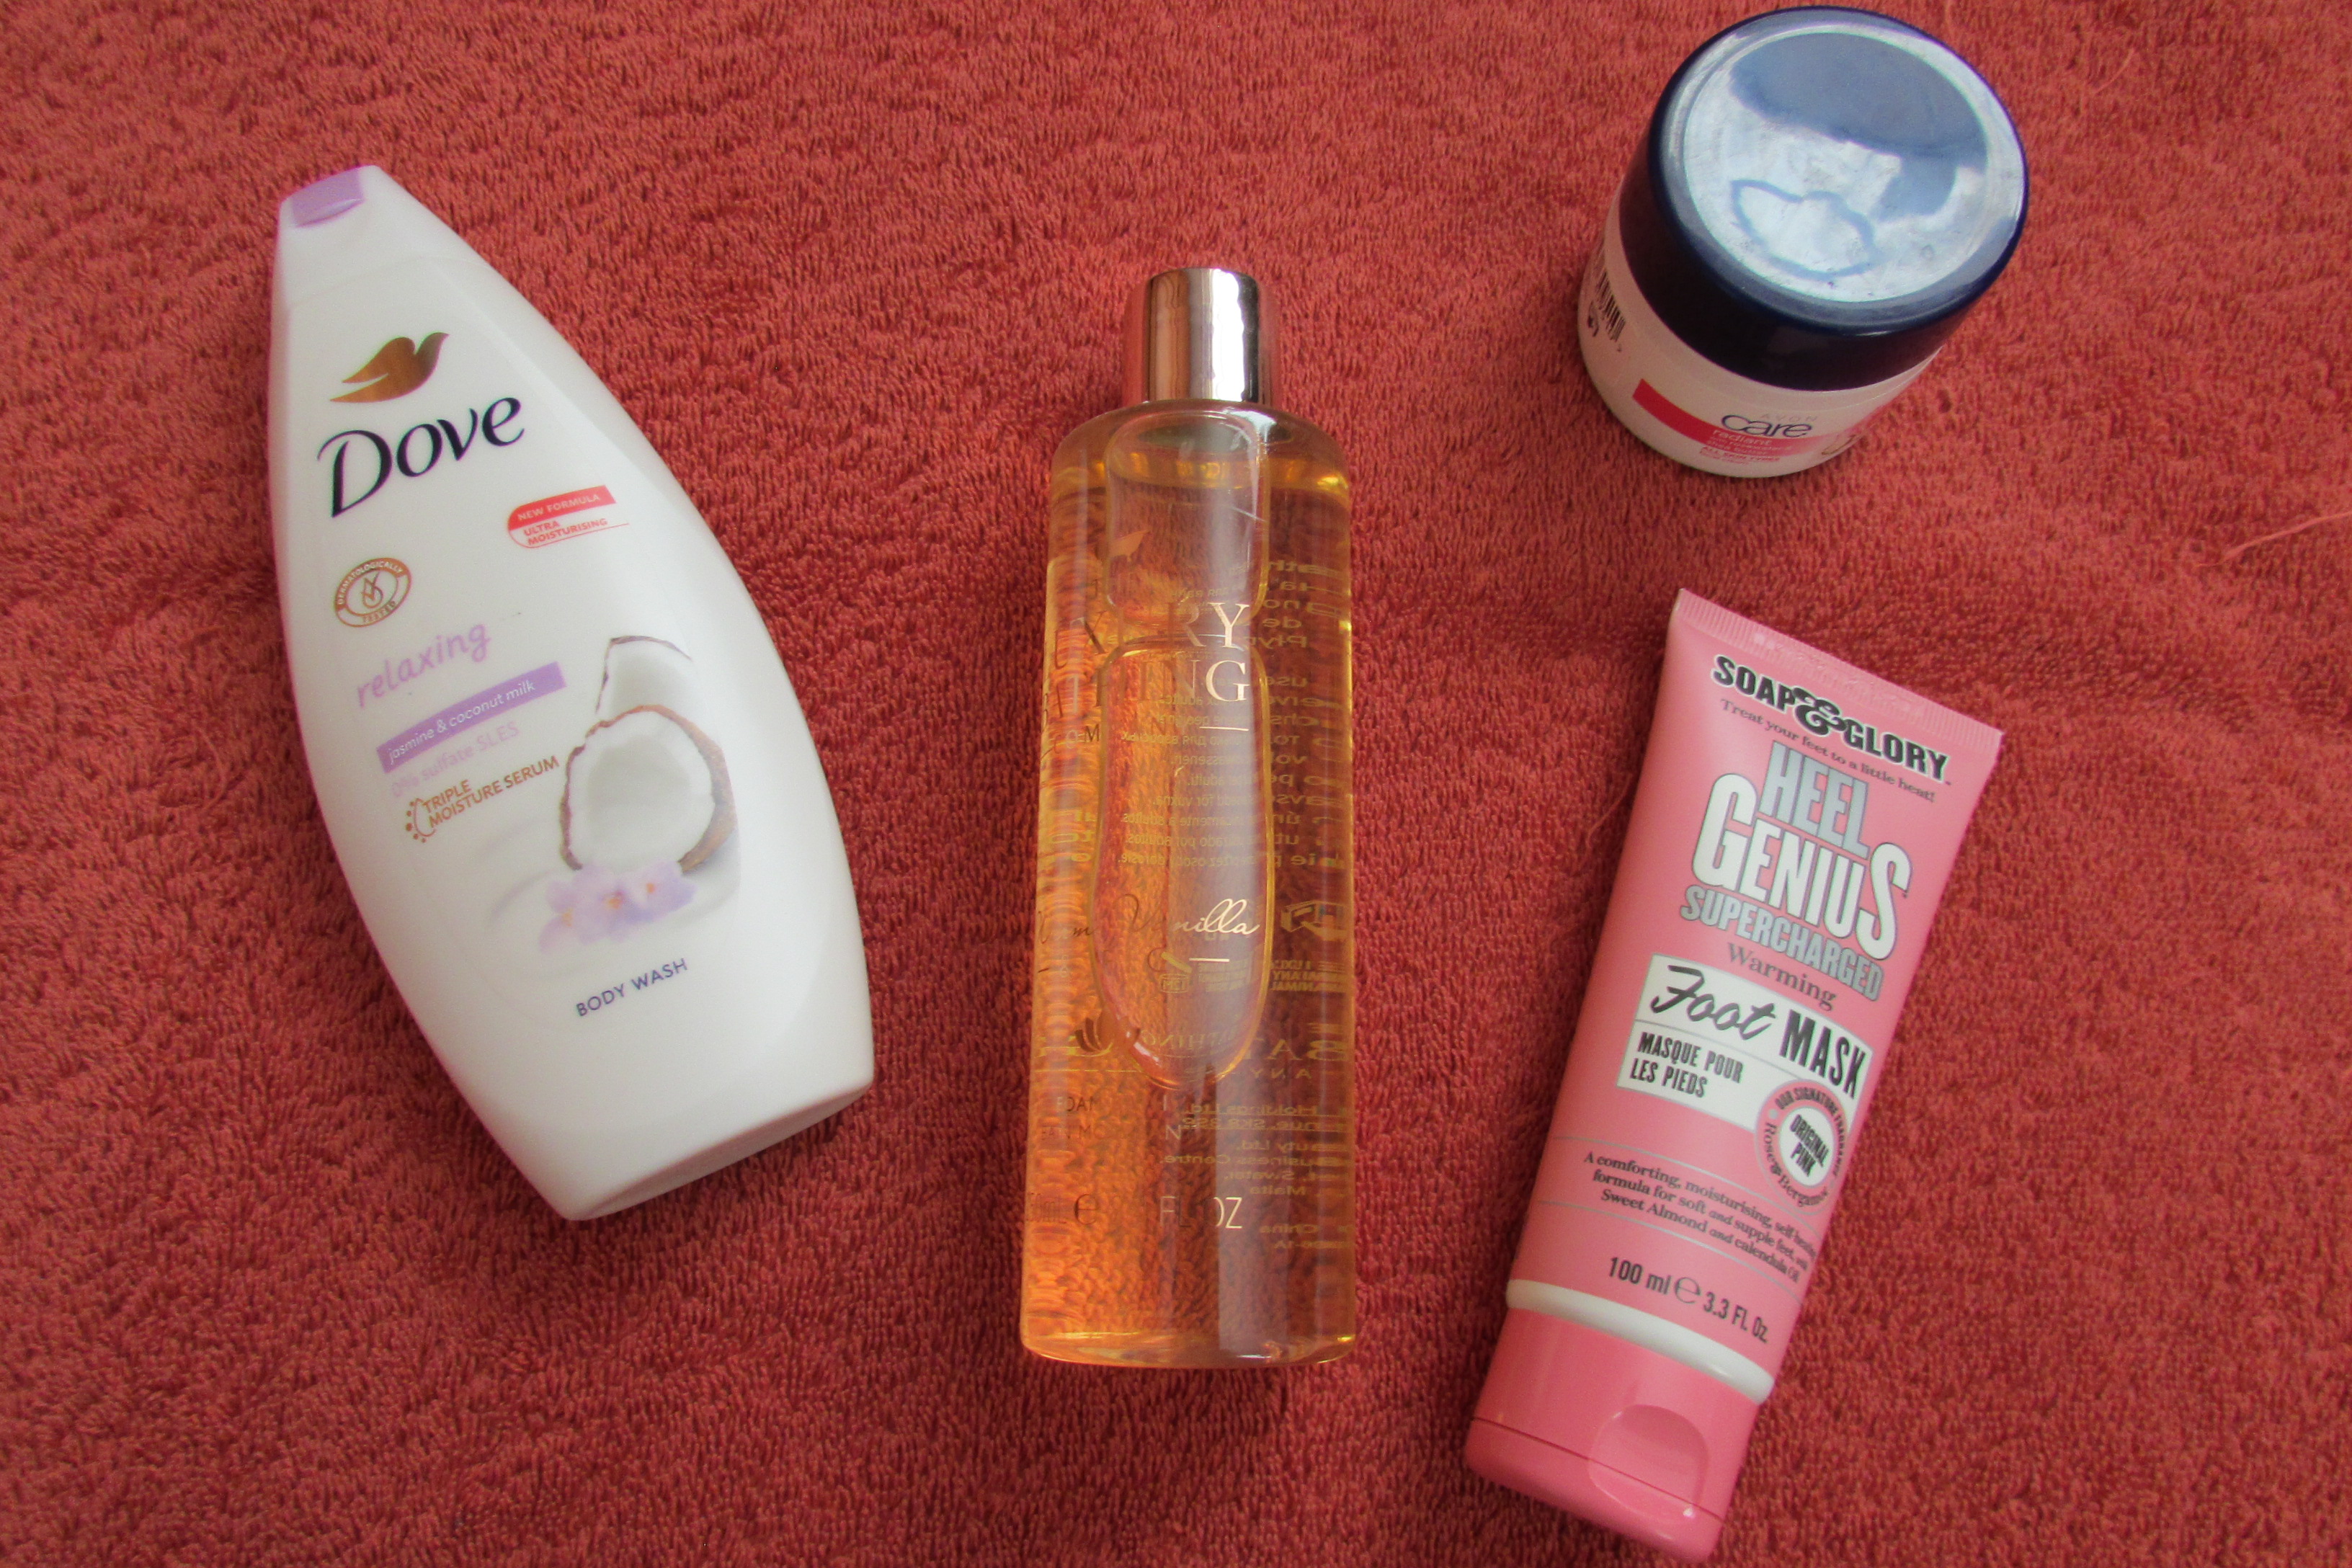
Did you get inundated with toiletries for Christmas? Or have a stash of a particular product that
you don’t use anymore but don’t quite know what to do with? If so, then hopefully, I have found a charity where
you can donate these unwanted items to help those who can’t afford to buy them
for themselves.
Be your own best friend!
Over the last few months, I have outlined many ways that you
can become a rainbow friend – helping local charities to raise funds without
having to spend lots of your own money. This
month I am going rogue!
.
